Showing posts with label Lyra Rembrandt Polycolor. Show all posts

Sunday, April 4, 2021

Happy Easter

Hi there,

I would like to show you this Easter Card that I created using the adorable Colorado Craft Company Happy Easter stamp set:

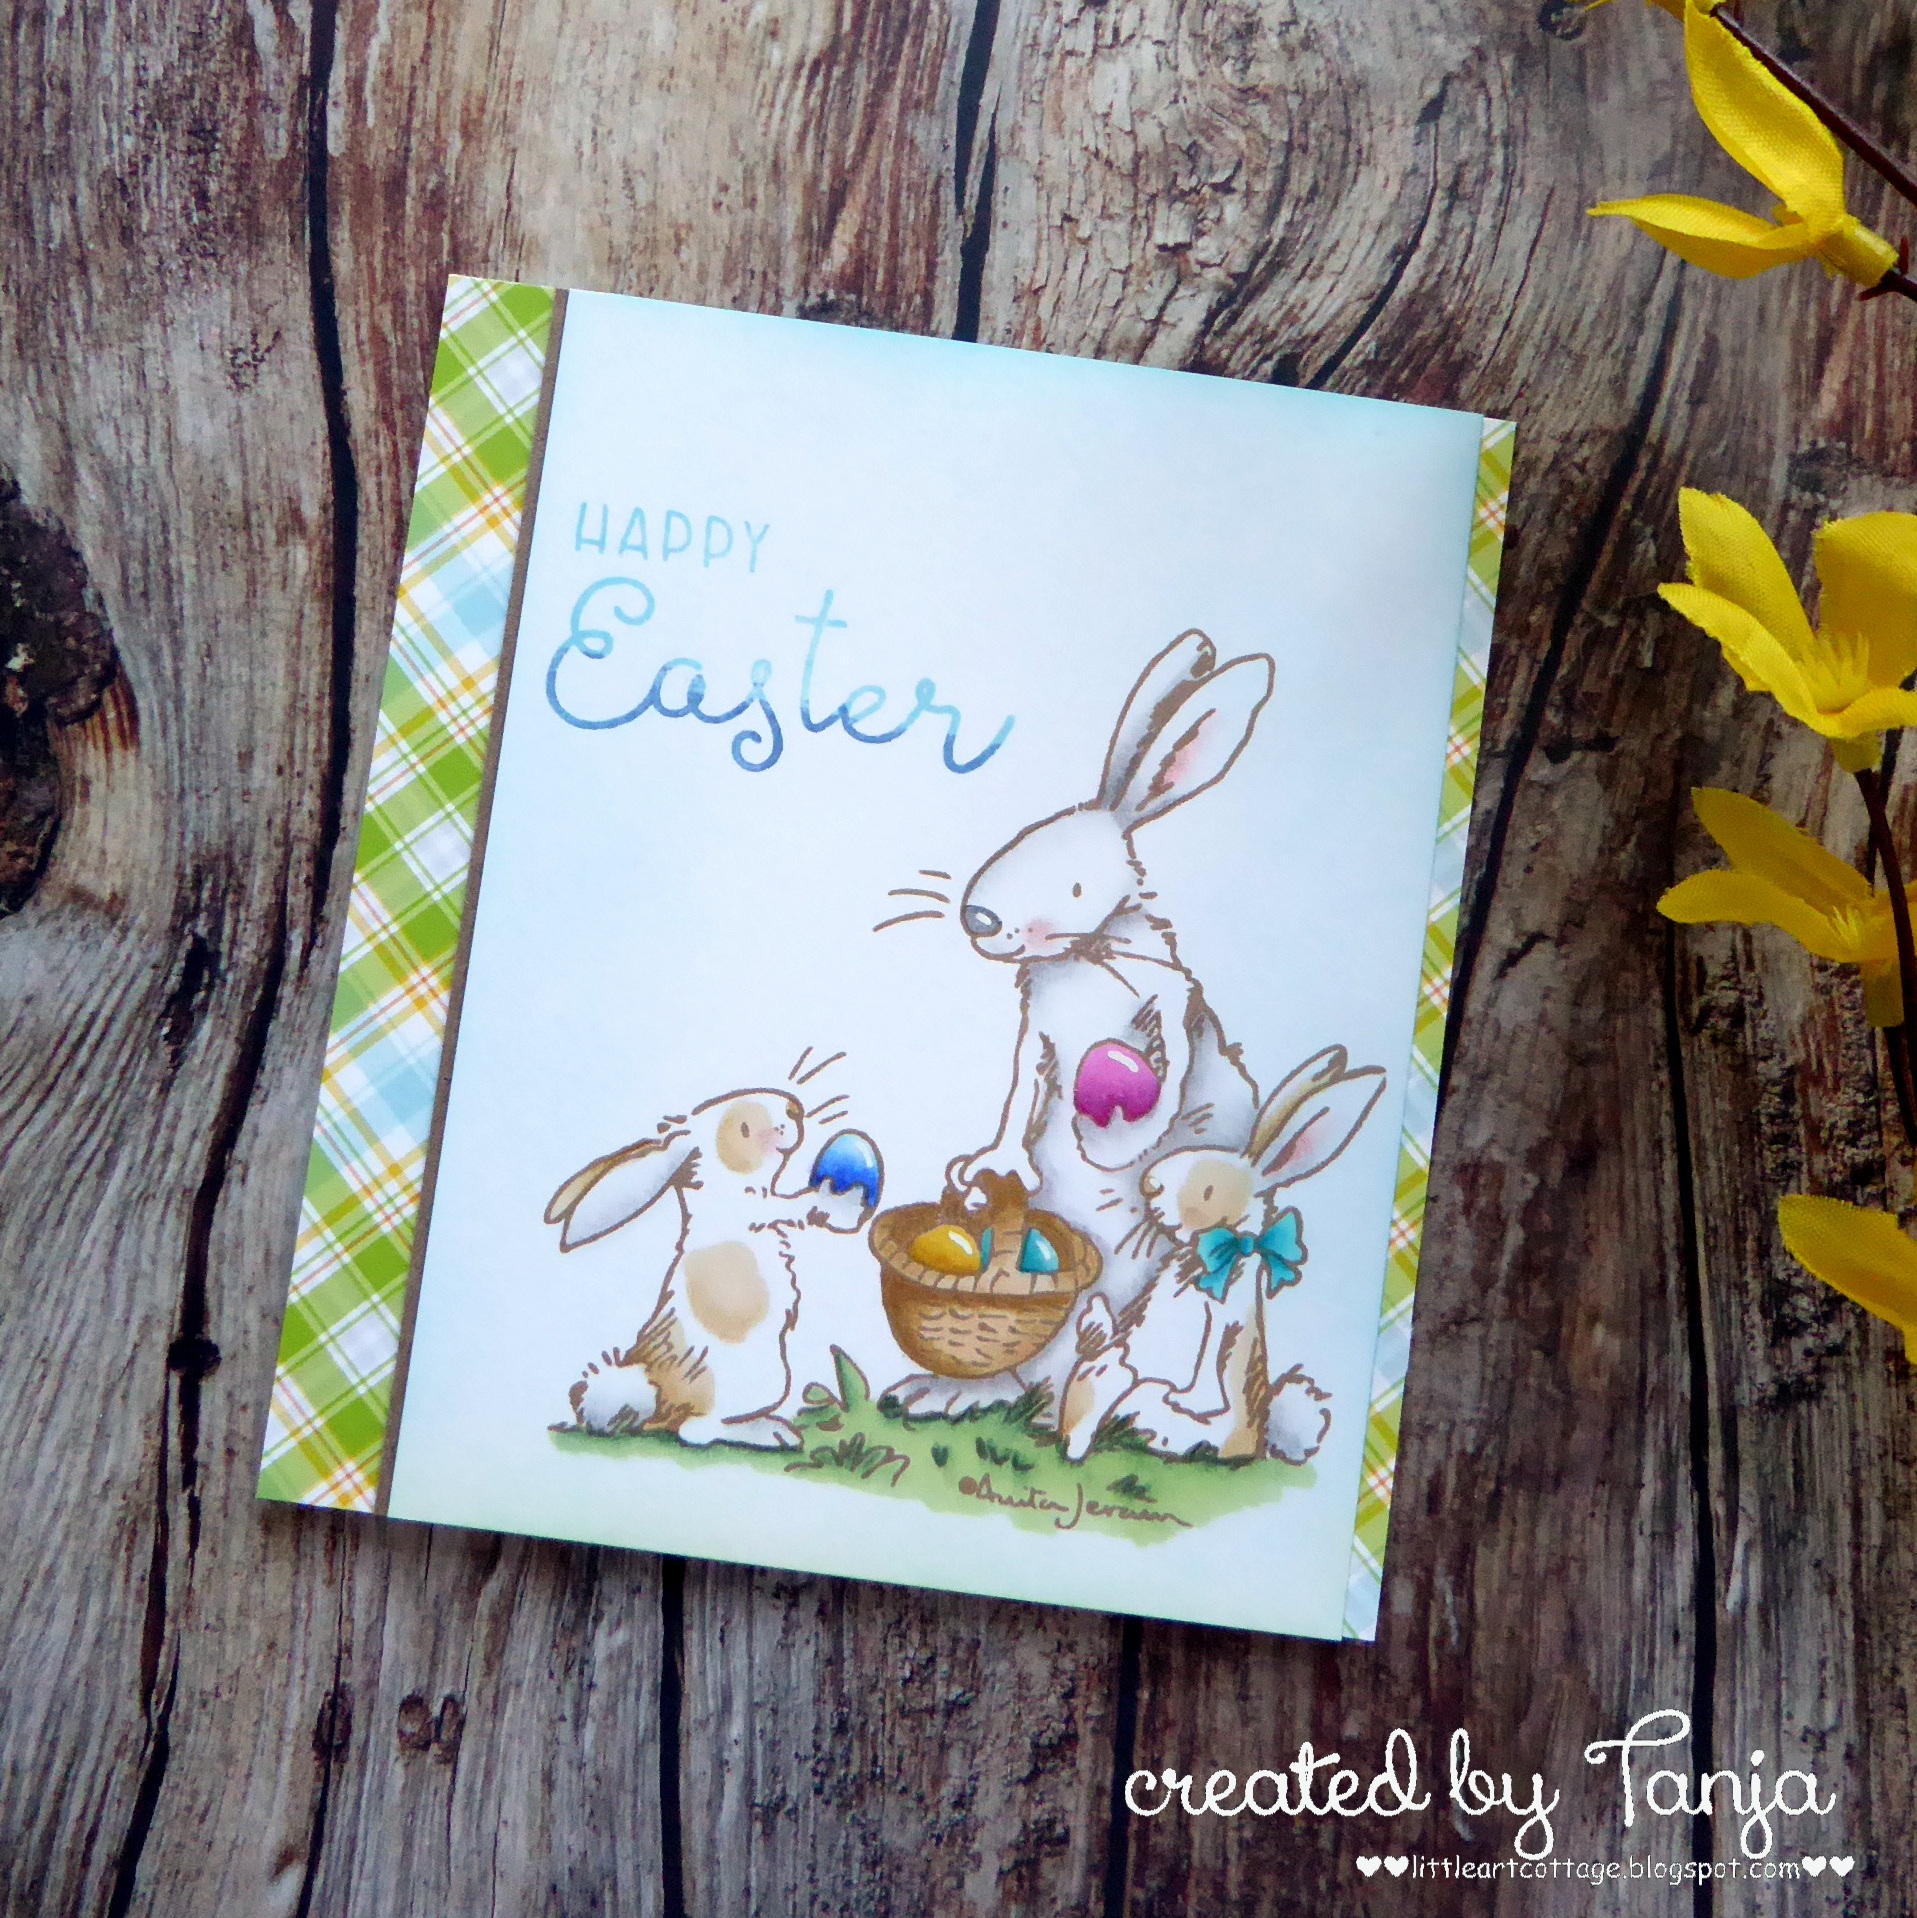
  • stamp the largest image from the Colorado Craft Company Happy Easter set with Lawn Fawn Crunchy Leaf
  • color the image with Spectrum Noir Triblend Markers, add extra shading with Faber-Castell Polychromos pencils and highlights with a white gel pen
  • stamp the sentiment from that same set with Distress Oxide Ink Tumbled Glass and Faded Jeans for an ombre look
  • add a strip of kraft cardstock to the left side of the panel and strips of patterned paper from the Lawn Fawn Perfectly Plaid Spring 6x6 paper pad to the left and right side of the panel before adhering it to a cardbase


Joyful Easter Days.

Hugs,


Monday, March 29, 2021

Easter Daisies

Hi there, 

I created this Daisy Easter Card for the Karten-Kunst Blog:

  • stamp the sentiment from the Karten-Kunst Riesige Wünsche Ostern and the daisies from the Karten-Kunst Scribble Daisies set with Versafine Clair Nocturne
  • color the flowers with Lyra Rembrandt Polycolor pencils and make them sparkle with Wink of Stella Clear Glitter
  • add a strip of pink cardstock to the top and bottom of the panel before adhering it to a cardbase
  • add some splatters of watered-down Distress Paint Spun Sugar


I hope you got inspired.

Hugs,


Wednesday, May 20, 2020

To Bee or to to Bee Blog Hop

Hi there,

Milka's To Bee or not to Bee Blog Hop is starting today and this is my creation:

  • stamp the super adorable bee, some poppies, the heart trail and the sentiment from the Gerda Steiner Designs Happy Bee-Day set with Lawn Fawn Crunchy Leaf
  • color the images with Lyra Rembrandt Polycolor pencils
  • add some Stickles Glitter Glue Crystal to the wings and some black splatters to the background
  • ink up the edges of the panel with Distress Ink Wild Honey

Do you know how bees communicate?

By dancing bees are able to communicate the distance, the direction and even the amount of food available. 

You can watch a very informative video on the Smithsonian Channel.


The Giveaway is open worldwide (+18).
For your chance to win, hop along the blogs of the participating designers listed in blog hop list and leave a comment on each blog hop stop. After commenting, return back to Milka’s blog and add your name to InLinkz, but prior you do, please read the Blog Hop details, terms, giveaway rules and privacy policy which are shared in Milka's blog post below InLinkz.

InLinkz opens on May 20th, 2020, 6 PM CEST.
InLinkz closes on May 27th, 2020, 11:59 PM CEST.
Winners’ names will be announced on Milka’s blog on May 31st 2020 during the day.

You can win fantastic prizes:

Clearly Besotted Stamps, £20 e-Gift Card to the Store
Gerda Steiner Designs, $15 Gift Code to the Store
Jane’s Doodles, stamp set of winner’s choice
Lawn Fawn, $25 Gift Certificate to the Store
Newton’s Nook Designs, $25 Store Credit
Pretty Pink Posh, $30 Gift Certificate to the Store
STAMPlorations, $20 Gift Code to the store
STAMPlorations, “Bee” package: stencil, clear sticker pack and embellishments (this prize is available for commentator located in US or has US mailing address)
Uniko, ₤15 e-Gift Certificate to the Store

Your Next Stamp, $20 Gift Card to the Store

Keine Fotobeschreibung verfügbar.

Enjoy the rest of the hop.

Blog hop list:

Hugs,


Sunday, May 17, 2020

Happy Birthday Cat on Present

Hi there,

I created this sweet little card using the Lili of the Valley Kitten Trio Present stamp set:

  • stamp one of the cats from the Lili of the Valley Kitten Trio Presents set and the sentiment from the Clearly Besotted Stamps Tiny Type set with Versafine Clair Morning Mist 
  • color the image with Lyra Rembrandt Polycolor Pencils and Zest-it
  • cut out a My Favorite Things Stitched Rectangle Scallop Frame around the image and several more from white cardstock and the top one from patterned paper from the Avery Elle The Sorbet Collection 6x6 paper pad
  • create a background on Neenah Desert Storm kraft cardstock with the help of the Carabelle Studio Envolée de coeurs embossing folder


Have a wonderful day.

Hugs,


Sunday, May 3, 2020

With a Cherry on Top

Hi there,

I created this fun birthday card using the Clearly Besotted Stamps Super Cool II stamp set:

  • stamp the ice cream cone from the Clearly Besotted Stamps Super Cool II set with Versafine Clair Morning Mist - use the masking technique
  • color the image with Lyra Rembrandt Polycolor pencils and add a highlight to the cherry with a white gel pen
  • cut out a white circle with one of the My Favorite Things Wonky Stitched Circles and a white rectangle with one of the Elizabeth Craft Designs Stitched Rectangles
  • stamp the sentiment from that same set with the same grey ink
  • add a striped and a dotted piece of patterned paper to the left side of the panel before adhering it to a cardbase
  • add Little Things from Lucy's Cards Ice Crystal sequins as final embellishments


Have a wonderful day.

Hugs,


Sunday, April 5, 2020

Happy Easter little Bunny

Hi there,

since interactive projects are all the rage at the moment, I created this sweet Easter Card:


  • stamp some of the adorable critters from the Mama Elephant Picnic with Friends set with My Favorite Things Extreme Black 
  • color the images with Delta, Touch Twin Brush and Copic Markers
  • cut out one of the Taylored Expressions Egg Stacklets from watercolor paper and create a background using Distress Oxide Ink Salty Ocean and Pearlized Water
  • cut the egg-shape again from pastel green cardstock and create a grass border with the help of one of the Lawn Fawn Meadow Borders 
  • cut out a My Favorite Things Stitched Sentiment Strip from Neenah Desert Storm kraft cardstock and stamp the sentiment from the Clearly Besotted Stamps Many Mini Messages set with Versafine Vintage Sepia
  • cut out a stitched panel using one of the Elizabeth Craft Designs Stitched Rectangles from patterned paper from the Lawn Fawn Perfectly Plaid Spring 6x6 paper pad and use it as a background
  • create a pop-up mechanism for the inside of the card
  • use the Lawn Fawn Quinn's Capital ABCs dies to create the Frohe Ostern (Happy Easter) and add a two-tone look with Distress Oxide Ink Cracked Pistachio and Salty Ocean
  • replace the O from Ostern (Easter) with a little Easter Egg cut using a die from the Elizabeth Craft Designs Spring Basket set and the same plaid patterned paper used or the background on the front of the card
  • embellish the corners of the pop-up banner using stamps from the Gerda Steiner Designs Hello Spring set
  • color the eggs and the branch with the help of Lyra Rembrandt Polycolor Pencils
  • add the second part of the sentiment using stamps from the Lawn Fawn Claire's ABCs set and Versafine Vintage Sepia

Thanks for stopping by.

Hugs,


Sunday, August 25, 2019

I'll fix it Beaver

Hi there,

today, I would like to show you this cute beaver tag:

  • cut out one of the tags from the My Favorite Things Tag Builder Blueprints 5 two times - once from Dani Peuss white cardstock and once from patterned paper from the Maja Design Walking in the Forest 6x6 paper pad
  • stamp one of the beavers and the sentiment from the Clearly Besotted Stamps Build it Beaver set with Versafine Vintage Sepia
  • color the image with Lyra Rembrandt Polycolor Pencils
  • add highlights with a white gel pen
  • add a hole enforcer from kraft cardstock and linen ribbon to the hole of the tag

I hope you got inspired.

Hugs,


Monday, June 24, 2019

Invitation - Einladung

Hi there,

I created this cute invitation for the Karten-Kunst Blog:

  • cut out the Karten-Kunst Brückentext Einladung and three oval windows from a stitched rectangle die cut from patterned paper
  • use stamps from the Karten-Kunst Viecher auf Ballonfahrt to fill the openings
  • color the images with Lyra Rembrandt Polycolor Pencils
  • adhere all the layers to a kraft cardbase
  • add little dots of Nuvo Vintage Drops (Earl Grey, Bonnie Blue) as final embellishments


Have a wonderful day.

Hugs,


Thursday, June 20, 2019

It's your Birth-Yay

Hi there,

I created this colorful birthday card for the Stamping-Fairies Blog:

  • stamp the toucan and the cake from the My Favorite Things Birth-Yay set - use the masking technique
  • add some leaves from the Waffle Flower Jungle B-Day set
  • color the image with Lyra Rembrandt Polycolor pencils
  • stamp the sentiment with Versamark on a strip of black cardstock and heat-emboss it with WOW! Bright White Super Fine embossing powder
  • create a background on smooth white cardstock using Distress Oxide Ink Twisted Citron and a Blending Brush - add speckles with watered-down Distress Ink Pine Needles
  • add some Pretty Pink Posh 4 mm Mossy Green sequins as final embellishments
  • add a strip of patterned paper from the Basic Grey Fresh Cut 6x6 paper pad to the right side of the panel before adhering it to a cardbase


And again my little daughter Emily created a similar card for you:


Have a colorful day.

Hugs,


Sunday, February 10, 2019

Stamp Connection #46

Hi there,

connected through our love for card making, blogging and being from Germany we (Cornelia from Stempel Spass and I) decided to create a monthly project within predefined requirements. We are going to show you the result every 2nd Sunday of the month and this is our 46th transatlantic get-together!

Our requirement for this meet-up was:
"almost Spring and Colored Pencils"

I used the super sweet Clearly Besotted Stamps Garden Gnomes stamp set to create this little scene:

  • stamp the little scene with the help of the Clearly Besotted Stamps Garden Gnomes set, Versafine Smokey Gray and the Masking Technique
  • color the images with Lyra Rembrandt Polycolor Pencils and Zest-it
  • add highlights with a white gel pen
  • cut around the scene using a stitched scalloped rectangle die
  • mat the panel onto a piece of patterned paper from the Avery Elle Brights Collection 6x6 paper pad before adhering it to a cardbase


Now make sure to hop over to see Cornelia's Creation.


Thanks for stopping by. We hope to see you again at the ...


Hugs,


Tuesday, April 24, 2018

Guinea Pig Tag

Hi there,

today, I would like to show you another creation using the adorable new Wheek, wheek, wheek ... Guinea Pig stamp set:

  • color one of the sweet little guinea pigs from the Gerda Steiner Designs Wheek, wheek, wheek ... Guinea Pig stamp set with Derwent Drawing Pencils and Lyra Rembrandt Polycolor Pencils 
  • add highlights with a white gel pen
  • cut out a tag from patterned paper from the Maja Design Walking in the Forest 6x6 paper pad with the help of one of the dies from the My Favorite Things Tag Builder Blueprints 5 set
  • cut a stitched banner shape around the sentiment from the same set and add some color with Distress Oxide Ink Peacock Feathers
  • add kraft hole enforcer and a piece of linen ribbon to the hole of the tag

Have a wonderful day.

Hugs,