Tuesday, December 18, 2018

Merry & Bright

Hi there,

we are starting a new Challenge over on the Elizabeth Craft Designs Blog and this month it is all about the Frame it dies. I used the Frame it - Stitched Rectangles to create more dimension on my card project:

  • stamp two scenes from the adorable Elizabeth Craft Designs Christmas Kids set with Versafine Onyx Black and cut them out with the coordinating dies
  • color the images with Faber-Castell Polychromos pencils
  • cut out several frames using the Elizabeth Craft Designs Frame it - Stitched Rectangles and the Elizabeth Craft Designs Stitched Rectangles
  • adhere the frames on top of each other using double-sided foam adhesive
  • create a shaker element behind the last frame and fill it with sequins 
  • close the shaker element with patterned paper from the ModaScrap Christmas Holidays 6x6 paper pad
  • stamp the sentiment from the Elizabeth Craft Designs Classic Christmas Sentiments with Versafine Olympia Green onto a sentiment strip cut into a banner shape
  • adhere the frames onto a cardbase and the images onto the frames
  • embellish the tree with Nuvo Crystal Drops (Red Berry, Apple Green, Dandelion Yellow)


Our challenge question is: Which of the Garden Notes - Frame It/Stitched Die Sets would you use on a project and how would you use it?

Hugs,


Monday, December 17, 2018

Merry Christmas - Frohes Fest

Hi there,

I created this sequin background window card for the Karten-Kunst Blog:

  • cut out a stitched panel from smooth white cardstock and create a background using the little images from the Karten-Kunst Runde Siegel set and Versafine (Crimson Red, Toffee, Olympia Green)
  • cut out a window from the panel using the background from the Karten-Kunst Frohes Fest die set
  • cover the window with a piece of acetate and glue some Pretty Pink Posh Sequins Mossy Green onto the patterned paper background - the paper is from the Maja Designs Home for Christmas 6x6 paper pad
  • glue the sentiment cut from red glitter paper using the Karten-Kunst Frohes Fest die set on top of the acetate


Have a christmasy day.

Hugs,


Friday, December 14, 2018

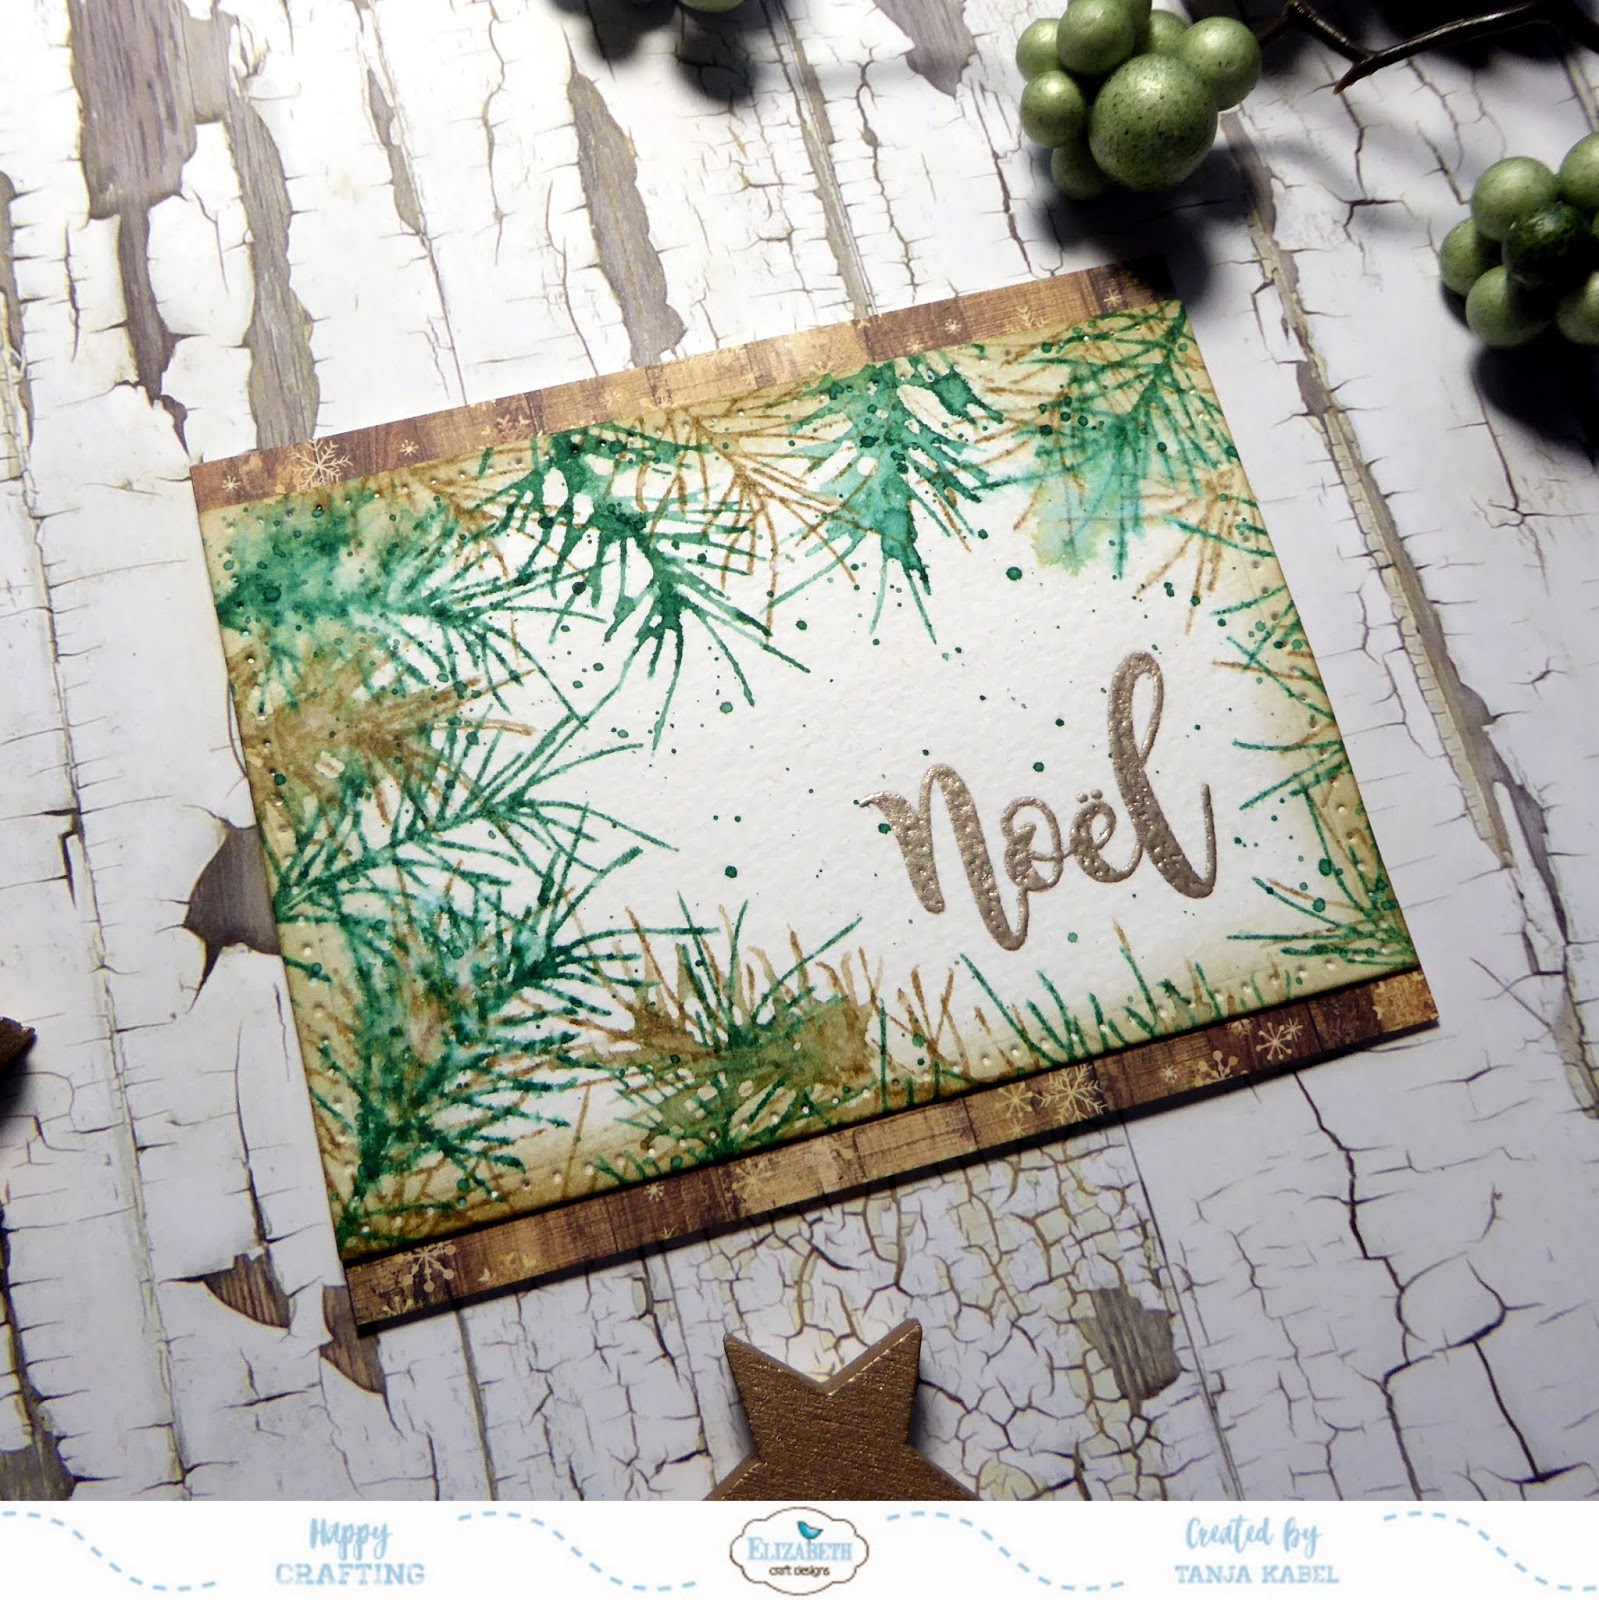
Noel

Hi there,

I created this faux-watercolor Christmas Card for Elizabeth Craft Designs:

  • cut out a stitched panel from watercolor paper using one of the Elizabeth Craft Designs Stitched Rectangles
  • stamp a sentiment from the Elizabeth Craft Designs Classic Christmas Sentiments with Versamark and heat-emboss it with Ranger Liquid Platinum embossing powder
  • stamp the pine twig from the Elizabeth Craft Designs Poinsettia set with Distress Ink (Pine Needles, Frayed Burlap) and mist the stamp with water after inking it
  • ink up the edges of the panel with Distress Ink Frayed Burlap and add some splatters with watered-down Distress Ink Pine Needles
  • add a strip of patterned paper from the ModaScrap Christmas Holidays 6x6 paper pad to the top and the bottom of the panel before adhering it to a cardbase


Have a christmasy day.

Hugs,


Thursday, December 13, 2018

Merry Christmas Snowflakes

Hi there,

I would like to show you how to create this emboss-resist Snowflake Card over on the Elizabeth Craft Designs Blog:


I hope you got inspired.

Hugs,


Wednesday, December 12, 2018

From our Home to yours

Hi there,

I created this Clean and Simple Christmas Shaker Card for the Stamping-Fairies Facebook Group:

  • stamp the cute little houses from the Lawn Fawn Winter Village set with Memento Tuxedo Black
  • color the image with Delta, Touch Twin Brush and Copic Markers and add extra shading with Faber-Castell Polychromos pencils
  • cut out one of the My Favorite Things Peek-a-Boo Circle Windows from a white cardbase
  • stamp the sentiment from the same set with Versafine Onyx Black
  • fill one of the My Favorite Things Circle Shaker Pouches with Nuvo Chrystal Cloud Circles and assemble the card


Have a christmasy day.

Hugs,