Saturday, September 29, 2018

Happy Fall Bear

Hi there,

since I always like to stretch my supplies I turned the Elizabeth Craft Designs Polar Bear into a little brown bear:

  • cut out the Elizabeth Craft Designs Polar Bear from white Soft Finish Cardstock
  • color the pieces with Delta, Touch Twin Brush and Copic Markers
  • add highlights with a white gel pen and a little smile with a black fineliner
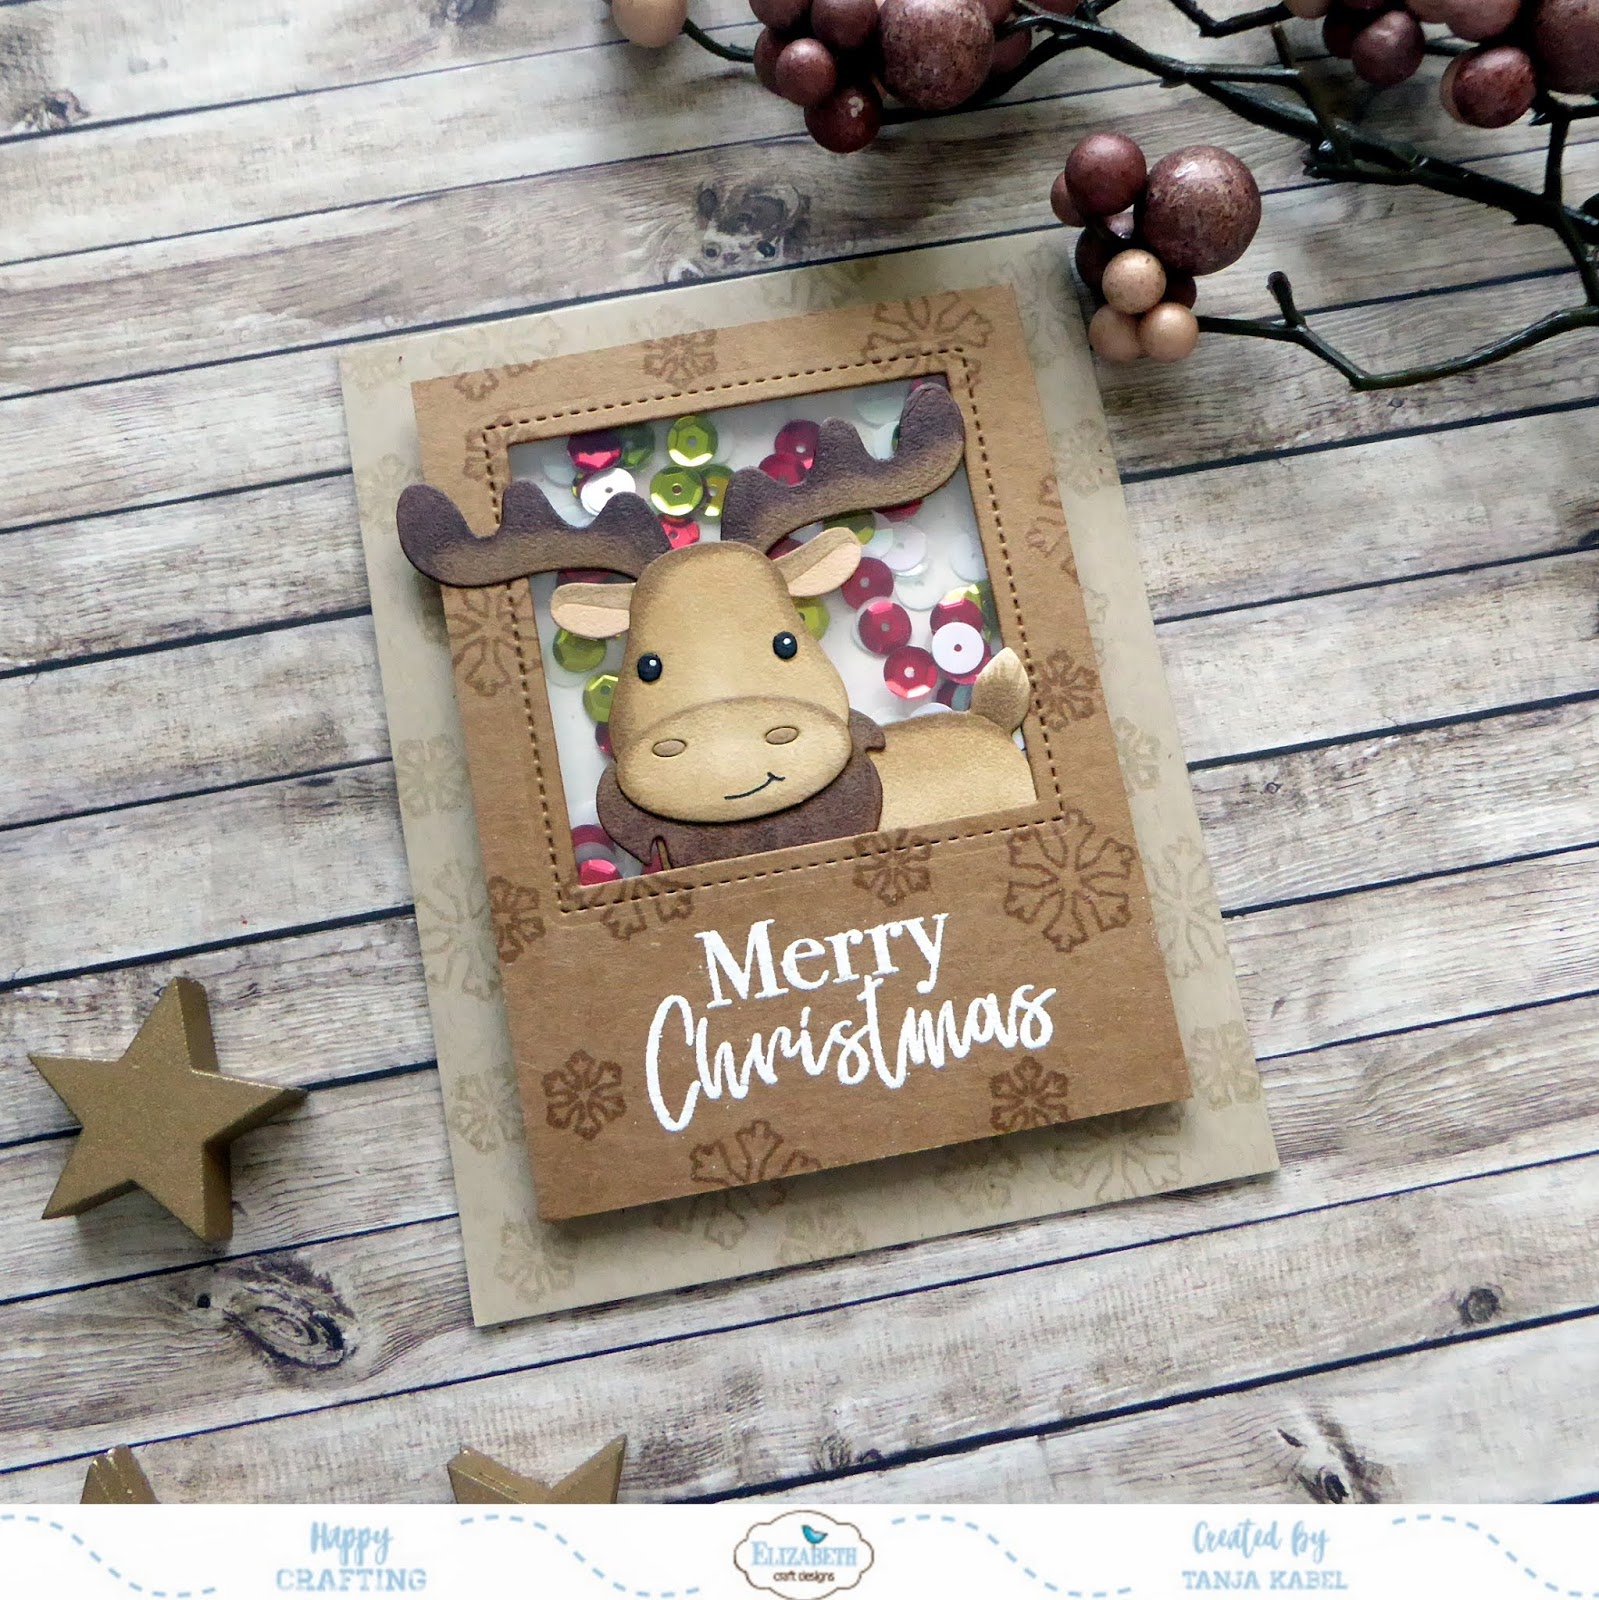
  • let him sit on a strip of patterned paper from the ModaScrap Wood Effect 6x6 paper pad
  • create the sentiment with the help of a piece of watercolor paper, Distress Inks (Wild Honey, Peeled Paint, Frayed Burlap), Mister Huey's Spray Gold and the Elizabeth Craft Designs Blackboard Alphabet
  • add some golden splatters to a Neenah Desert Storm kraft cardbase as well
  • cut out some leaves from the Elizabeth Craft Designs Woodland Leaves die set from white Soft Finish Cardstock
  • add color with Alcohol Markers and PanPastel and shape the leaves with the help of the Susan's Garden Tool Set
  • tuck the leaves behind the adorable little bear


Have the most wonderful day.

Hugs,


Thursday, September 27, 2018

Make a Wish upon a Star

Hi there,

I created this Reveal Wheel Card for the Stamping-Fairies Facebook Group:

  • create a Reveal Wheel with the Help of the Lawn Fawn Reveal Wheel die set
  • instead of one of the included opening I used a star die - just one that you may find in your stash
  • add color to the background using Distress Oxide Ink Faded Jeans
  • mist the panel with Pearlized Water for extra texture and shine
  • I added a Yupo circle onto the reveal wheel and it was colored with Alcohol Inks (Flamingo, Sunshine Yellow, Aqua, Stonewashed, Silver Mixative)
  • stamp the little bunny and the sentiment from the Lawn Fawn Upon a Star set with Memento Tuxed Black and partially die cut the sweet little critter
  • color the bunny with Delta, Touch Twin Brush and Copic Markers
  • add extra shading with Prismacolor Colored Pencils and highlights with a white gel pen
  • add a the little arrow from the Reveal Wheel die set
  • adhere the panel onto a dark grey cardbase
Here you can see some of the different star colors:


I hope you got inspired.

Hugs,


Tuesday, September 25, 2018

Happy Fall and Let's eat Cupcakes

Hi there,

I created two cards using the Gerda Steiner Designs Happy Fall Printable and the Let's Eat Cupcake Printable which are available in the Gerda Steiner Designs Shop:

  • color the Gerda Steiner Designs Happy Fall Printable with Derwent Inktense Pencils, watered-down Distress Ink (Tumbled Glass, Peeled Paint) and a damp watercolor brush
  • mount the panel onto a piece of kraft cardstock stamped with leaves and from the Gerda Steiner Designs Happy Fall set in Altenew Crisp Ink Mocha
  • embellish the card with some natural twine before adhering it to the cardbase


And this is my second project:

  • color the Gerda Steiner Designs Let's Eat Cupcake Printable with Derwent Inktense Pencils and a damp watercolor brush
  • apply Distress Ink Pumice Stone through the Tim Holtz Layering Stencil Feather for a subtle background
  • add a strip of silver glitter paper and a strip of purple cardstock before adhering the panel to a cardbase


I hope you got inspired.

Hugs,


Monday, September 24, 2018

Christmas CUTplorations REDUX

Hi there,

we are having the Christmas CUTplorations REDUX Blog Hop over on the STAMPlorations Blog and these are my creations.


On my first project I used the CUTplorations Let it snow phrase die:

  • stamp one of the houses from the STAMPlorations Houses set and the little fence from the STAMPlorations Houses Extras set with Versafine Clair Morning Mist onto a watercolor panel
  • color the scene with Altenew Watercolors
  • cut out the CUTplorations Let it snow phrase die twice from sturdy white cardstock and layer both pieces on top of each other
  • add dimensional snow using the Tsukineko Radiant Neon Amplify White


And on my second project I used the CUTplorations Stitched Winter Landscape die:

  • create a sky background using a panel of watercolor paper, a Mini Ink Blending Tool and Distress Oxide Ink (Tumbled Glass, Broken China)
  • mist the background with Pearlized Water for a subtle snow effect
  • cut out the CUTplorations Stitched Winter Landscape from smooth white carstock and color the trees and the house with Copic, Touch Twin Brush and Delta Markers
  • stamp the snowman from the STAMPlorations Winter Chill set with Memento Tuxedo Black and color the image with Alcohol Markers as well
  • stamp the sentiment from the same set with the same black ink
  • add highlights with a white gel pen


Enjoy the rest of the hop.

Hugs,


Falling Leaves - Blätterrauschen

Hi there,

this is another creation using the wonderful new Karten-Kunst Herbst-Blätter stamp set:

  • cut out a stitched panel from watercolor paper using one of the Memory Box Stitched Rectangle Layers dies
  • stamp the leaves from the Karten-Kunst Herbst-Blätter set with Distress Inks (Barn Door, Spiced Marmalade, Vintage Photo) - mist the stamp with water before laying them down onto the paper
  • add some splatters with gold spray
  • stamp the sentiment from the Karten-Kunst Capri Herbstgrüße set with Versamark onto a strip of torn vellum and heat-emboss it with WOW! Metallic Gold Rich Pale
  • layer the panel onto a piece of kraft cardstock before adhering it to the cardbase


Thanks for stopping by.

Hugs,


Thursday, September 20, 2018

Tropi-Cool

Hi there,

I created this tropical card for the Stamping-Fairies Facebook Group:

  • stamp one of the toucans and some greenery from the Avery Elle Toucan Party set with Memento Desert Sand and color the images with Prismacolor Colored pencils
  • cut out a stitched panel from white cardstock and cut out a circle opening 
  • create a shaker element with a piece of acetate and some double-sided foam adhesive
  • fill the shaker element with green, blue and pink sequins
  • close the shaker with a background panel colored with Distress Oxide Ink Tumbled Glass
  • add a matching sentiment from the same stamp set with Altenew Crisp Ink Moss
  • use some Nuvo Drops Rhubarb Crumble as final embellishment 


My daughter Emily (8) created a similar project using the same supplies. Isn't her little scene just adorable?


Thanks for stopping by.

Hugs,


Tuesday, September 18, 2018

Be Merry Hot Chocolate

Hi there,

we are starting a new challenge over on the Elizabeth Craft Designs Blog and this time the topic is Classic Christmas:

  • cut out the Elizabeth Craft Designs Hot Chocolate cup from watercolor cardstock and all the other elements from white Soft Finish Cardstock
  • color the cup with Paper Artsy Fresco Finish Paint Dolly Mix and add shading with Distress Oxide Ink Dusty Purple
  • color the other elements with Delta, Touch Twin Brush and Copic Markers
  • use the Elizabeth Craft Designs Snowflake Border to cut a stencil from a piece of leftover cardstock
  • mix some Elizabeth Craft Designs Ice Teal Glitter with Gel Medium and apply it through the stencil onto the cup - let this dry thoroughly
  • create your own patterned paper by using the stamps from the Elizabeth Craft Designs Clasic Christmas Sentiments set and Versafine Clair Morning Mist
  • stamp another sentiment from the same stamp set onto the cup
  • adhere some birch bark to the cardbase and put the cup on top
  • add some splatters with watered-down white acrylic paint


The question for this month for the chance to win a $20 gift vouch is:
What Elizabeth Craft Designs die or stamp set would you select if making a Christmas card.

I hope you got inspired.

Hugs,


Monday, September 17, 2018

Fill the Season with warm Memories

Hi there,

I created this fall-themed slider card for MFT's 2018 Card Design Superstar Contest:

  • create a slider mechanism using the My Favorite Things Double Slider Loop Slots, the My Favorite Things Stitched Rectangle STAX, the My Favorite Things Stitched Rounded Rectangle STAX, the pull tab from the My Favorite Things Blueprints 29 die set, a strip of a plastic bag and double-sided foam adhesive
  • stamp a scene using the adorable My Favorite Things Fall Friends set - use the Masking Technique
  • color the images with Delta, Touch Twin Brush and Copic Markers
  • add extra shading with Prismacolor Colored Pencils and highlights with a white gel pen
  • layer the card onto a piece of light kraft cardstock embellished with stamped leaves from the My Favorite Things Harvest Mouse set before adhering the slider to a cardbase


I hope you got inspired and take your time to join this fabulous contest.


Hugs,


Fall Greetings - Herbstgruß

Hi there,

over the following weeks I would like to show you projects that I created with the new Karten-Kunst stamps and die sets. My first creation is a fall tag:

  • cut out a tag from smooth white cardstock using one of the Karten-Kunst Tag dies
  • stamp one of the leaves from the Karten-Kunst Herbst-Blätter set with Distress Oxide Inks (Forest Moss, Spiced Marmalade, Vintage Photo) 
  • mist the tag with gold spray
  • stamp the sentiment from the same set with Versamark and heat-emboss it with WOW! Metallic Gold Rich Super Fine
  • thread natural twine and golden yarn through the hole of the tag


I hope you got inspired.

Hugs,


Sunday, September 16, 2018

Merry Christmas Moose

Hi there,

I would like to show you another creation using one of those fabulous new Elizabeth Craft Designs Critter dies:

  • cut out the Elizabeth Craft Designs Moose from white Soft Finish Cardstock
  • color the pieces with Delta, Touch Twin Brush and Copic Markers
  • add highlights with a white gel pen and a little smile with a black fineliner
  • create a Polaroid frame by cutting one of the Elizabeth Craft Designs Frame it Stitched Squares from a rectangular piece of kraft cardstock
  • stamp the sentiment from the Elizabeth Craft Designs Classic Christmas Sentiments with Versamark and heat-emboss it with WOW! Bright White Super Fine embossing powder
  • add some snowflakes from the same stamp set with Altenew Crisp Ink Mocha
  • adhere the moose to the frame and put a piece of acetate behind it
  • create a shaker element using double-sided foam adhesive and fill it with sequins
  • embellish the front of the cardbase with snowflakes stamped with Versamark for a subtle watermark effect and adhere the shaker element to it


I hope you got inspired.

Hugs,