Tuesday, October 26, 2021

Fall is here

Hi there,

hop on over to the Elizabeth Craft Designs Blog to find the step-by-step tutorial for this Art Journal Page:


I hope you got inspired.

Hugs,


Monday, October 25, 2021

I'm with You

Hi there,

I created this chalkboard tag using the Karten-Kunst Stars in a Row die set:

  • cut out two Karten-Kunst Tags - one from black and one from pink cardstock
  • cut out the Karten-Kunst Stars in a Row from the black tag
  • add black splatters to the pink tag
  • stamp the Karten-Kunst Script Background with Versamark onto the black tag and heat-emboss it with Frosted Crystal embossing powder
  • use white chalk to create a chalkboard effect
  • adhere the black tag onto the pink tag
  • stamp the sentiment from the Karten-Kunst Aus der Schreibmaschine 2 set with Versamark and heat-emboss it with white embossing powder
  • thread pink and black twine through the hole of the tag

Have a wonderful day.

Hugs,


Thursday, October 21, 2021

Ghostly Greetings

Hi there,

I created this spooky Halloween Card for the Stamping-Fairies Blog:


Ghostly Greetings.

Hugs,


Tuesday, October 19, 2021

Boo!

Hi there,

I have another Halloween Card for you and this time I used the adorable Gerda Steiner Designs Ghosts stamp set:

  • stamp two of the ghosts from the Gerda Steiner Designs Ghosts set with Lawn Fawn Jet Black
  • color the images with Spectrum Noir Triblend Markers and add extra shading with Faber-Castell Polychromos pencils
  • add highlights with a white gel pen
  • create a background on a piece of grass cardstock with the help of three different colored striped of glitter paper
  • stamp the sentiment from the same set with Versafine Clair Nocturne and heat-emboss it with WOW! Clear Sparkle embossing glitter
  • add a strip of black cardstock and patterned paper to the left side of the panel before adhering it to a cardbase


I hope you got inspired.

Hugs,


Monday, October 18, 2021

Doodled Coffee & Tea Colorables

Hi there,

there are several new additions to the STAMPlorations Colorables Section and today I would like to give you a closer look at the Doodled Coffee & Tea Colorables:

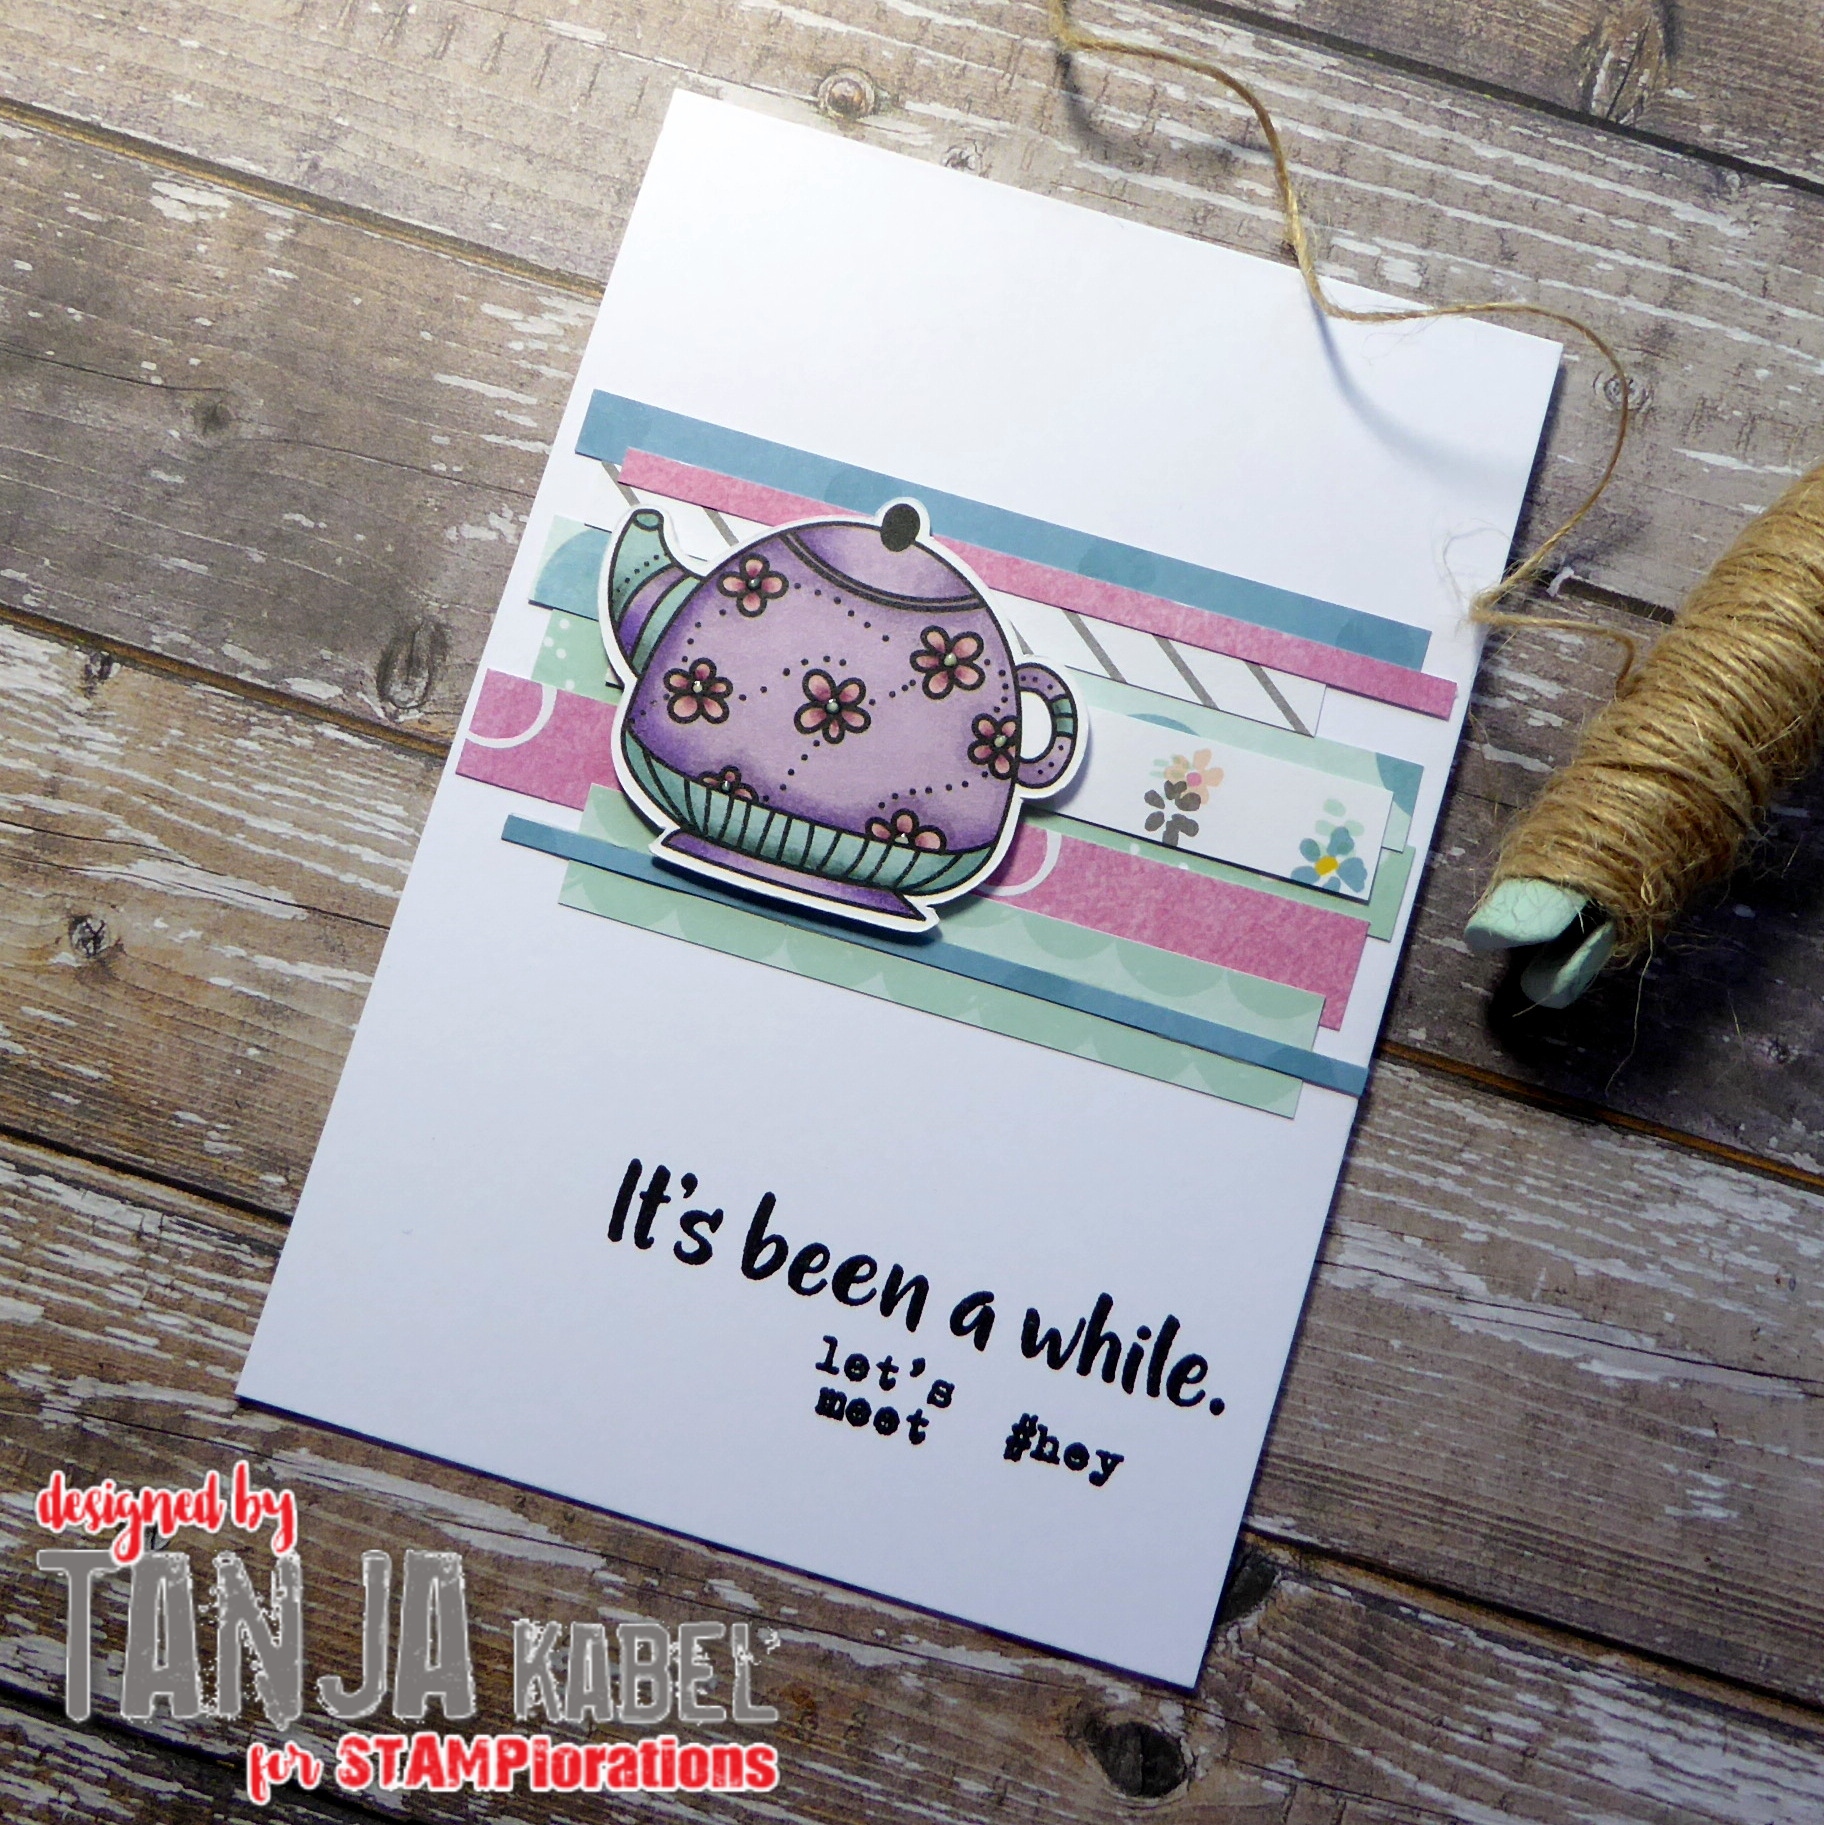
  • color the STAMPlorations Doodled Coffee & Tea Colorables with Spectrum Noir Triblend Markers and add Nuvo Crystal Drops Buttermilk to the centers of the flowers
  • create a background from patterned paper strips
  • stamps the sentiments from the STAMPlorations Hello You set with Versafine Clair Nocturne


  • color the tea cup and tea bag from the STAMPlorations Doodled Coffee & Tea Colorables with Spectrum Noir Triblend Markers
  • add some shimmer to the leaves on the cup
  • cut out a little label as a background
  • apply Distress Oxide Ink (Rusty Hinge, Crackling Campfire) through the ARTplorations Autumn Falling stencil directly onto the kraft cardbase
  • add some splatters with Finetec Mica Watercolors Inca Gold
  • ink up the edges of the label and the cardbase with Distress Ink Gathered Twigs
  • cut out the CUTplorations Blessed once from brown cardstock and once from golden glitter paper - glue them slightly offset on top of each other


  • color the French Press from the STAMPlorations Doodled Coffee & Tea Colorables with Spectrum Noir Triblend Markers
  • add highlights with a white gel pen
  • use the ARTplorations Dots 'n Beans stencil to emboss a kraft panel
  • ink up the edges with Distress Ink Ground Espresso
  • stamp the sentiment from the STAMPlorations What's Brewing set with Versafine Clair Fallen Leaves onto a strip of lilac shimmer paper


I hope you got inspired.

Hugs,


Stay the Way you are

Hi there,

I created this card using the amazing Karten-Kunst Ash Leaf die set:

  • stamp one of the Karten-Kunst Scribble Roses with Memento Tuxedo Black
  • color the image with Spectrum Noir Triblend Markers
  • run a piece of turquoise cardstock through your Big Shot in a woodgrain embossing folder
  • add Distress Stain Brushed Pewter splatters to that background
  • cut out the Karten-Kunst Ash Leaf from vellum and its outline from silver glitter paper
  • stamp the sentiment from the Karten-Kunst Aus der Schreibmaschine 3 set with Versamark onto a strip of black cardstock and heat-emboss it with silver embossing powder
  • add a strip of black cardstock to the left and right side of the panel before adhering it to a cardbase


I hope you got inspired.

Hugs,


Thursday, October 14, 2021

Watercolor Leaves

Hi there,

here is another Fall Card that I created for the Stamping-Fairies Blog:


Have a wonderful day.

Hugs,


Wednesday, October 13, 2021

Yuletide Doodles

Hi there,

there are some new additions to the STAMPlorations Colorables Section. In this post I would like to give you a closer look at the Yuletide Doodles:

  • color the adorable little gingerbread house from the STAMPlorations Yuletide Doodles Colorables with Spectrum Noir Triblend Markers
  • add Nuvo Glitter Drops White Blizzard to the candies and Liquid Applique to the roof
  • create a background on a CUTplorations Manila Tag cut from watercolor paper by applying white heavy gesso through the ARTplorations Christmas Tree 1 stencil
  • add some watercolor to that background as well
  • stamp the sentiment from the STAMPlorations Hello Christmas set with Versamark and heat-emboss it with Ranger Liquid Platinum embossing powder
  • thread two strings of twine through the hole of the tag


  • color the Christmas Tree from the STAMPlorations Yuletide Doodles Colorables with Spectrum Noir Triblend Markers
  • add Nuvo Crystal Drops Rhubarb Crumble and Caribbean Ocean to the baubles
  • create a background by using the ARTplorations Holly Background stencil for embossing a piece of green cardstock
  • ink up the edges of the background with Distress Ink (Pine Needles, Forest Moss)
  • stamp the sentiment from the STAMPlorations Warm Hands, Warm Hearts set with Versamark onto a piece of Kraft Cardstock and heat-emboss it with WOW! Bright White Super Fine embossing powder
  • add glitter paper with a decorative edge cut with one of the CUTplorations Lacy Edges and Borders to the right side of the panel before adhering it to a cardbase


  • color the Christmas Stocking from the STAMPlorations Yuletide Doodles Colorables with Spectrum Noir Triblend Markers
  • cut out a CUTplorations Manila Tag
  • stamp the sentiment from the STAMPlorations Joyful set with Versafine Olympia Green and stamp a whole background by using different words from the same stamp set and Versafine Clair Morning Mist
  • dye a piece of torn seam binding with Distress Ink Fired Brick and thread it through the hole of the tag


I hope you got inspired.

Hugs,


Tuesday, October 12, 2021

Boo - Quick and Easy Halloween Card

Hi there,

today I'm sharing the step-by-step tutorial for this quick and easy Halloween Card over on the Elizabeth Craft Designs Blog:


Thanks for stopping by.

Hugs,


Monday, October 11, 2021

You are my favorite person

Hi there,

I created this card using the Karten-Kunst Cloud Borders and Stars in a Row die sets:

  • stamp the Karten-Kunst Rainbows with different colors of Distress Oxide Ink (Picked Raspberry, Carved Pumpkin, Twisted Citron, Salty Ocean, Wilted Violet)
  • cover the bottom part of the rainbow with one of the Karten-Kunst Cloud Borders
  • stamp the sentiment from the Karten-Kunst Aus der Schreibmaschine 3 and from the Karten-Kunst Große Worte Lieblingsmensch sets with Versafine Clair Nocturne under a strip of black cardstock
  • embellish the card with black starts cut with the help of the Karten-Kunst Stars in a Row set


Have a wonderful day.

Hugs,


Thursday, October 7, 2021

I'm Nuts about You

Hi there,

I created this sweet Fall Card using the My Favorite Things Squirrel! stamp set for the Stamping-Fairies Blog:


Thanks for stopping by.

Hugs,


Tuesday, October 5, 2021

Ghostly Greetings

Hi there,

I created this Halloween Card using the Gerda Steiner Designs  Where is the Candy? and Bats stamp sets:

  • stamp the cat from the Gerda Steiner Designs Where is the Candy? set with Lawn Fawn Jet Black
  • color the image with Spectrum Noir Triblend Markers and add extra shading with Faber-Castell Polychromos pencils
  • add highlights with a white gel pen
  • create a background on a piece of smooth white cardstock using Distress Ink (Frayed Burlap, Chipped Sapphire), a hill, a moon and a cloud stencil
  • ink up the edges of the panel with Distress Ink Black Soot
  • color in the moon with Finetec Mica Watercolors (Moon Gold, Meteor)
  • stamp some bats from the Gerda Steiner Designs Bats set with Versafine Clair Nocturne 
  • stamp the sentiment from the My Favorite Things Fab-BOO-lous Friends set with Versamark and heat-emboss it with WOW! Bright White Super Fine embossing powder
  • add a strip of patterned paper to the left and right side of the panel before adhering it to a cardbase


Have a wonderful day.

Hugs,