Monday, April 30, 2018

My World is brighter because of you

Hi there,

I tried out my new Ecoline Brush Pens on this CAS project for this month's Happy Little Stampers Watercolor Challenge:


  • stamp the map from the Neat & Tangled Origami Map set with Versamark onto a piece of watercolor paper and heat-emboss it with WOW! Bright White Super Fine embossing powder
  • color the image with Ecoline Brush Pens and a damp watercolor brush
  • stamp the sentiment from the same set with Versamark onto a strip of black cardstock and heat-emboss it with WOW! Bright White Super Fine embossing powder
  • adhere the panel to a black cardbase

Have a colorful day.

Yours,


Smile Hippo

Hi there,

I created this cute Birthday Card for Elizabeth Craft Designs:

  • stamp the adorable little hippo and two balloons from the ModaScrap Puppies Boy set with My Favorite Things Extreme Black and color it with Faber-Castell Polychromos Pencils
  • add highlights with a white gel pen
  • cut out a piece of watercolor paper with the help of one of the Elizabeth Craft Designs Stitched Rectangles dies
  • stamp one of the parcels from the Elizabeth Craft Designs Gift-Wrapped set with Versafine Clair Nocturne and color it with Polychromos Pencils as well
  • create a background using Schmincke Horadam Watercolors
  • add speckles with blue watercolor paint
  • add some silver thread around the balloons and adhere them with double-sided foam tape for extra dimension - hide the ends of the thread behind the hippo
  • layer the watercolor panel on top of a blue panel cut from Elizabeth Craft Designs Soft Finish Cardstock Bonnie Blue
  • cut out the Elizabeth Craft Designs Smile from white glitter fun foam
  • adhere all the layers to a white cardbase


Have a wonderful week.

Hugs,


Friends

Hi there,

here is a tag that I created using the new Karten-Kunst Kränze und Kreise stamp set:


  • cut out a tag from sturdy white cardstock
  • stamp one of the circles from the Karten-Kunst Kränze und Kreise set with Versamark and heat-emboss it with WOW! Metallic Silver Super Fine embossing powder
  • add some of the smaller hearts with Versamark as well and heat-emboss them with WOW! Pink Lady embossing powder
  • add some splatters with watered-down black acrylic paint
  • stamp the sentiment from the Karten-Kunst Weise Worte für Freunde set with Versamark onto a strip of torn vellum and heat-emboss it with WOW! Metallic Silver Super Fine embossing powder
  • thread a piece of black and white twine through the hole of the tag

Have a wonderful day.

Hugs,


Thursday, April 26, 2018

The best Friends have four Legs

Hi there,

I would like to show you this Clean and Simple Card over on the Stamping-Fairies Blog:


Have a wonderful day.

Hugs,


Wednesday, April 25, 2018

Thanks Flowers

Hi there,

I would like to show you how to create this rainbow flower card over on the Elizabeth Craft Designs Blog:

  • cut out three large flowers, four small flowers and the flower centers from watercolor paper using the Elizabeth Craft Designs Small and Large Flower die sets
  • add color using Distress Oxide Ink (Picked Raspberry, Carved Pumpkin, Squeezed Lemonade, Twisted Citron, Peacock Feathers, Salty Ocean, Wilted Violet) and a Mini Ink Blending Tool
  • add little dots to the flower centers with a white gel pen
  • cut out a stitched panel from watercolor paper with the help of the largest of the Elizabeth Craft Designs Stitched Rectangles
  • use the same Distress Oxide Colors as watercolors and create a rainbow background
  • mist the background with Pearlized Water for extra shine and texture
  • cut out the "thanks" from the Elizabeth Craft Designs Words 2 Thinking of you die set three times and layer them on top of each other
  • adhere the watercolor panel to a dark grey cardbase

Thanks for stopping by today. Have a colorful day.

Hugs,


Tuesday, April 24, 2018

Relax

Hi there,

STAMPlorations is launching some more new products in the Wanderlust Series and this is what I created using some new stamps and dies:


  • stamp some of the bigger versions of the STAMPlorations Wanderlust images and some from the STAMplorations Gone postal set with Versamark onto a panel cut from watercolor paper and heat-emboss them with Hero Arts White embossing powder
  • add color to the panel with Distress Oxide Ink (Squeezed Lemonade, Shaded Lilac, Picked Raspberry, Mermaid Lagoon)
  • for more texture add some water droplets
  • cut out the CUTplorations Relax from the panel and build a shaker element behind it - use acetate and a double layer of foam tape
  • fill the shaker with Little Things from Lucy's Cards Rainbow Bright Diamonds
  • mount the shaker panel onto a grey cardbase
  • save the cutout word for the second card
  • create a background on a panel cut from watercolor paper and add color with watered-down Distress Ink (Mermaid Lagoon)
  • stamp the bigger version of the sailboat from the STAMPlorations Wanderlust set with Distress Oxide Ink (mermaid Lagoon) for a tone on tone look
  • layer a sticker from the Tim Holtz Snarky Small Talk Sticker Set on top of a strip of black and white paper and add the saved word from the previous project on top
  • mat the panel on a piece of black cardstock before adhering all the layers to a cardbase

Have a colorful day.

Hugs,


Guinea Pig Tag

Hi there,

today, I would like to show you another creation using the adorable new Wheek, wheek, wheek ... Guinea Pig stamp set:

  • color one of the sweet little guinea pigs from the Gerda Steiner Designs Wheek, wheek, wheek ... Guinea Pig stamp set with Derwent Drawing Pencils and Lyra Rembrandt Polycolor Pencils 
  • add highlights with a white gel pen
  • cut out a tag from patterned paper from the Maja Design Walking in the Forest 6x6 paper pad with the help of one of the dies from the My Favorite Things Tag Builder Blueprints 5 set
  • cut a stitched banner shape around the sentiment from the same set and add some color with Distress Oxide Ink Peacock Feathers
  • add kraft hole enforcer and a piece of linen ribbon to the hole of the tag

Have a wonderful day.

Hugs,


Monday, April 23, 2018

With Brave Wings

Hi there,

I would like to show you how to create this Mixed Media Tag step by step over on the STAMPlorations Blog.


I hope you got inspired.

Hugs,


Thursday, April 19, 2018

Here's a Hug

Hi there,

I created this adorable little Bunny Tag for the Stamping-Fairies Blog:


Thanks for stopping by.

Hugs,


Wednesday, April 18, 2018

Happy Easter Tag

Hi there,

I created this sweet little Easter Tag using one of the cute bunnies from the Mama Elephant Little Bunny Agenda stamp set as inspiration for the Addicted to Stamps and More Holiday Challenge:


  • stamp one of the adorable bunnies from the Mama Elephant Little Bunny Agenda set with Versafine Onyx Black
  • color the image with Prismacolor Colored Pencils and Zest-it
  • cut out two tags - one from sturdy white cardstock and one from patterned paper - using dies from the Clearly Besotted Tag Along Die Collection
  • add color to the white tag with the help of Distress Ink (Milled Lavender)
  • stamp the JudiKins Papyrus texture with Versamark and heat-emboss it with WOW! Metallic Silver Super Fine embossing powder
  • create a shaker element between the two tags and fill it with sequins
  • thread two strands of twine through the hole of the tag
  • add a sticker from the Tim Holtz Seasonal Chitchat set

Have a wonderful Easter Time.

Hugs,


Tuesday, April 17, 2018

It's not about where you're going

Hi there,

STAMPlorations is launching some wonderful new products today and here is what I created with the fabulous STAMPlorations Wanderlust Expressions 2 stamp set:

  • cut out one of the CUTplorations Stitched Tags from watercolor paper
  • stamp the STAMPlorations In Bloom: Heartfelt Hibiscus with Versafine Smokey Gray
  • add the sentiment from the brand new STAMPlorations Wanderlust Expressions 2 with Versafine Onyx Black
  • color the image and the background with Peerless Watercolors and add extra shading with Faber-Castell Albrecht-Dürer Pencils
  • add splatters with watered-down black acrylic paint
  • dye a piece of seam binding with Distress Ink Shaded Lilac, rip it apart and thread it through the hole of the tag

Thanks for stopping by.

Hugs,


Just for you

Hi there,

it's time for a new Challenge over on the Elizabeth Craft Designs Blog and this time it is all about the Scissor Spring Mechanism that can bring an interactive element to your card:


  • stamp the image from the Elizabeth Craft Designs Gift Wrapped set with My Favorite Things Extreme Black and color it Delta, Touch Twin Brush and Copic Markers - add extra shading with Faber-Castell Polychromos Pencils
  • cut out the smallest of the Elizabeth Craft Designs Scissor Spring Mechanisms and glue it underneath the image
  • stamp the sentiment from the Clearly Besotted Stamps Tiny Type set with Versafine Onyx Black
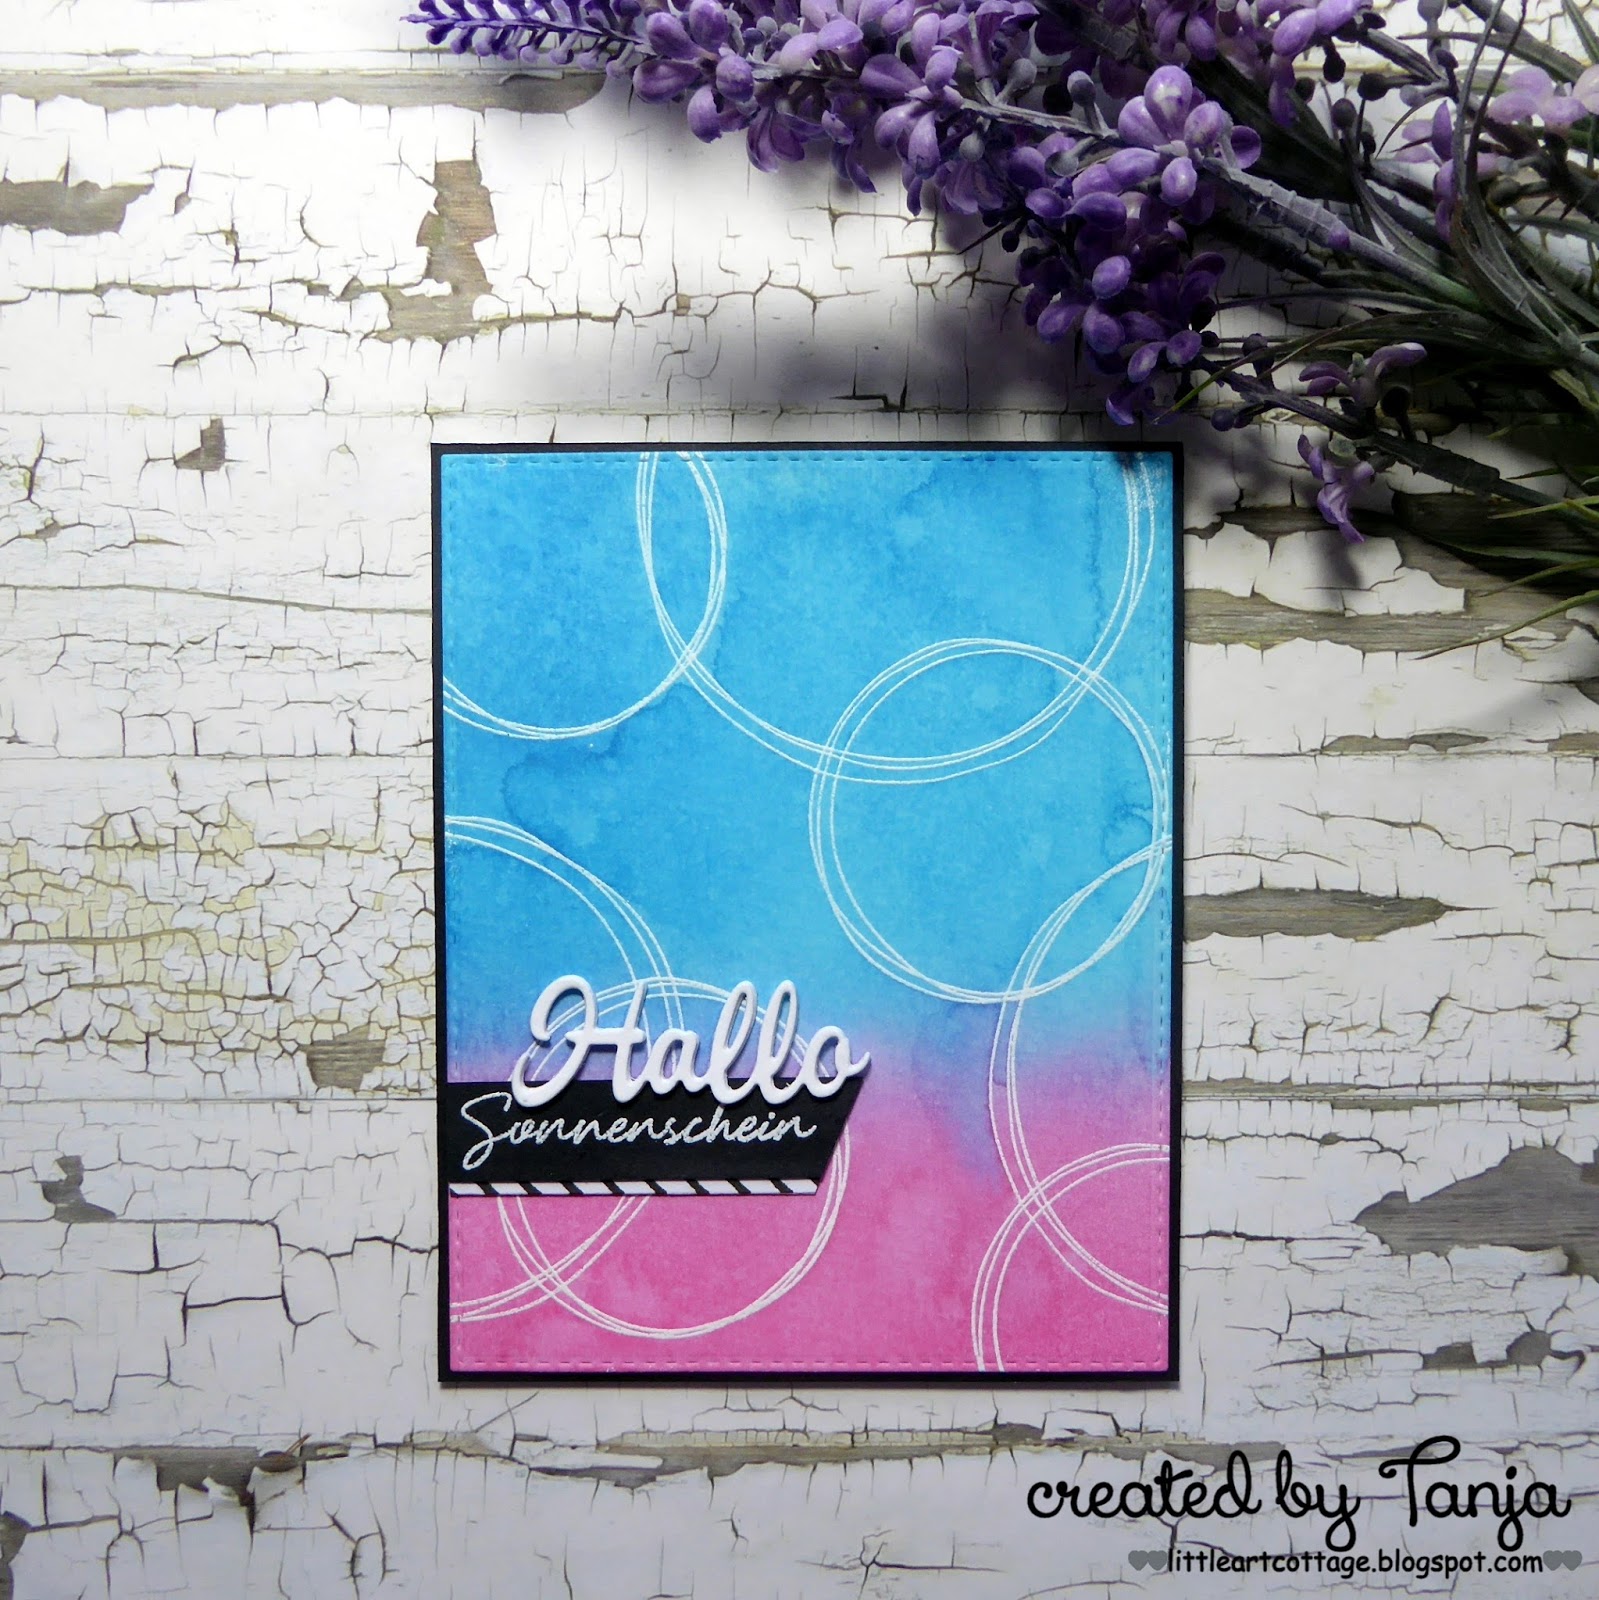
  • cut out a stitched panel from watercolor paper using one of the ModaScrap Dashing Rectangles dies
  • cut apart the three parcels from the Elizabeth Craft Designs Gift Wrapped set, stamp them with Versamark and heat-emboss them with WOW! Bright White Super Fine embossing powder
  • add color with Distress Oxide Inks (Tattered Rose, Worn Lipstick, Shaded Lilac)
  • stamp the sentiment from the same set with Versamark on a strip cut from purple cardstock  and heat-emboss it with that same white embossing powder
  • adhere all the elements to a light grey cardbase


For today's challenge Elizabeth Craft Designs are giving away a $20 Gift Card to use on our website to 3 winners

To enter simply leave a comment on the Elizabeth Craft Designs Facebook Giveaway Blog Post or the Elizabeth Craft Designs Challenge post and tell us What Elizabeth Craft Designs dies or stamp sets would you use with the Scissor Spring Mechanism die set to create a card, scrapbook layout of home decor item?

We will select 3 lucky winners in a random drawing 

The winners will be announced on Friday, April 20th on the Elizabeth Craft Designs Blog and our Facebook page.

I hope you got inspired.

Hugs,


Monday, April 16, 2018

Hello little Lion

Hi there,

I created this sweet Tag Card for Elizabeth Craft Designs:

  • stamp the sweet little lion from the ModaScrap Puppies Boy set with My Favorite Things Extreme Black and color the image with Derwent Drawing Pencils
  • add highlights with a white gel pen
  • cut out one ModaScrap Love, Life Tag from watercolor paper and one from patterned paper from the ModaScrap Color of Puppies Boy 6x6 paper pad
  • add color to the watercolor tag by applying Distress Ink (Frayed Burlap, Forest Moss, Crushed Olive) with a Mini Ink Blending Tool
  • cut out the larger Elizabeth Craft Designs Maidenhair Fern from Elizabeth Craft Designs Soft Finish Cardstock and color it with a Touch Twin Brush Marker
  • use the Susan's Garden Tool Set and PanPastels to achieve a realistic finish
  • speckle a white cardbase with watered-down Distress Ink Forest Moss, add the fern and glue the tags on top
  • cut out the "hello" from the Elizabeth Craft Designs Thinking of you die set from Elizabeth Craft Designs Olive Twist Soft Finish Cardstock twice and layer them both on top of each other
  • thread two strands of natural twine through the holes of the tag


I hope you got inspired.

Yours,


Forget-me-not

Hi there,

I would like to show you what I created with the new Karten-Kunst Sternen-Engel stamp set:

  • stamp the angel from the Karten-Kunst Sternen-Engel set with Distress Ink Antique Linen and the sentiment from the same set with Versafine Onyx Black onto a stitched panel cut from watercolor paper
  • color the angel with Faber-Castell Albrecht-Dürer Pencils and a damp watercolor brush
  • add some grey splatters to the background and some sparkle to the wings with Wink of Stella Clear Glitter
  • mount the panel onto a grey cardbase

Thanks for stopping by today.

Hugs,


Friday, April 13, 2018

Own your Dreams

Hi there,

I created this watercolor tag for the Stamping-Fairies Blog:


I hope you got inspired.

Hugs,


Tuesday, April 10, 2018

Lettuce be Friends forever

Hi there,

after showing you creations using the Gerda Steiner Designs Peeking Easter Friends set over the last couple of weeks, this post features the adorable new Wheek, wheek, wheek ... Guinea Pigs stamp set:

  • color the sweet little guinea pig, lettuce and a cucumber slice from the Gerda Steiner Designs Wheek, wheek, wheek ... Guinea Pigs stamp set with Derwent Drawing Pencils and Lyra Rembrandt Polycolor Pencils 
  • add highlights with a white gel pen
  • cut out two rectangles using one of the Elizabeth Craft Designs Dashing Rectangles - one from Neenah Desert Storm kraft cardstock and one from patterned paper from the Maja Design Life in the Country 6x6 paper pad
  • add an Avery Elle Dotted Border to the patterned paper piece
  • stamp a background using stamps from the Clearly Besotted Stamps Garden Fresh set and Altenew Crisp Ink Mocha
  • cut a banner shape around the sentiment from the same set and add some color using Distress Ink Fossilized Amber
  • mat all the layers onto a dark kraft card base

I hope you got inspired.

Hugs,


Monday, April 9, 2018

You're so sharp!

Hi there,

I created this fun Cactus Shaker Card for the Elizabeth Craft Designs Blog:

  • stamp one of the Cacti from the Elizabeth Craft Designs Cacti set with Memento Tuxedo Black and color it with Delta, Touch Twin Brush and Copic Markers
  • cut out panel from white cardstock using one of the Elizabeth Craft Designs Stitched Rectangles dies and cut a circle into it using one of the Elizabeth Craft Designs Stitched Circles dies 
  • create a shaker element using acetate and double-sided foam adhesive
  • fill the shaker with light green, dark green and clear seed beads and close it with patterned paper from the ModaScrap Wood Effect 6x6 paper  pad
  • stamp the sentiment from the same set with Versafine Onyx Black
  • adhere the card to the card base using Elizabeth Craft Designs clear double-sided adhesive


I hope you got inspired.

Yours,


Hello Sunshine

Hi there,

I created this project using the new Karten-Kunst Kränze und Kreise stamp set:

  • stamp some of the circles from the Karten-Kunst Kränze und Kreise set with Versamark and heat-emboss them with WOW! Bright White Super Fine embossing powder
  • add color with Distress Oxide Ink (Picked Raspberry, Mermaid Lagoon) and a Mini Ink Blending Tool
  • mist the stitched panel cut from watercolor paper with water for more texture
  • cut out the Karten-Kunst Hallo three times from sturdy white cardstock and layer the die cuts on top of each other in order to create dimension
  • stamp the word Sonnenschein (sunshine) from the Karten-Kunst Du bist ... set with Versamark onto a piece of black cardstock and cut it into a flag shape
  • layer the sentiment strip on top of a striped black and white paper strip and glue it to the background panel
  • mat the background panel onto a piece of black cardstock before adhering it to a cardbase

Have a wonderful day.

Hugs,