Thursday, May 31, 2018

Elephant Tag

Hi there,

today, I would like to show you this cute little elephant tag as inspiration for this month's Happy Little Stampers Watercolor Challenge:


  • cut out a base from watercolor paper, a frame from patterned paper from the Heidi Swapp Dreamy 6x6 paper pad, a foam layer and a shaker window from acetate using dies from the My Favorite Things Tag Builder Blueprints 4 set
  • stamp an image with the help of the Lawn Fawn Elphie Selfie set and Versafine (Onyx Black) - I used the masking technique
  • color the animals and the umbrella with Daniel Smith and Schmincke Horadam watercolors
  • add color and texture to the background with Distress Oxide Ink (Broken China) and water droplets from a mister bottle
  • fill the shaker element with Pretty Pink Posh Sequins (4 mm Sparkling Clear, 4 mm Cornflower, 4 mm Aquamarine)
  • thread a piece of ribbon through the hole of the tag

I hope you got inspired.

Yours,


You are the Sweetest

Hi there,

I created this adorable little tag for the Stamping-Fairies Facebook Group:


Thanks for stopping by.

Hugs,


Wednesday, May 30, 2018

Trouble in a Tutu

Hi there,

I would like to show you this cute CAS card using the adorable Clearly Besotted Stamps Trouble in a Tutu stamp set and I hope it inspires you to join the Addicted to Stamps and More CAS Challenge:

  • cut out a stitched rectangle with the help of one of the Elizabeth Craft Designs Stitched Rectangles from Dani Peuss Cardstock
  • stamp one of the sweet little hippos and the sentiment from the Clearly Besotted Stamps Trouble in a Tutu set with My Favorite Things Extreme Black
  • color the images with Faber-Castell Polychromos Pencils and Zest-it
  • stamp some stars from the same set with Altenew Crisp Ink (Frosty Pink, Coral Berry, Ruby Red)

Thanks for stopping by.

Yours,


Tuesday, May 29, 2018

Happy Birthday

Hi there,

I have another creation using the adorable new Gerda Steiner Designs Dachshunds stamp set:

  • color the sweet dog from the Gerda Steiner Designs Dachshunds stamp set with ZIG Clean Color Real Brush Pens and a damp watercolor brush
  • cut out a stitched panel from Gmund Beer Paper Weizen with the help of one of the Elizabeth Craft Designs Stitched Rectangles
  • cut out a big heart using the Lawn Fawn Magic Color Slider die set and several small hearts using one of the Lawn Fawn Valentine Borders
  • cut the big heart and the small hearts again from purple cardstock and puzzle the pieces into the openings
  • stamp the sentiment from the Clearly Besotted Stamps Tiny Type set with Versafine Onyx Black
  • adhere the panel to a kraft cardbase

Hugs,


Friday, May 25, 2018

Spread your Wings and fly away

Hi there,

I would like to show you how to create this Mixed Media Canvas over on the STAMPlorations Blog:


Have a wonderful day.

Hugs,


Let's meet

Hi there,

I created this fun card using the sweet little mouse from the Gerda Steiner Designs Fall Mice stamp set for the Spring and Summer Coffee Lovers Blog Hop:

  • cut out a stitched rectangle with the help of one of the Elizabeth Craft Designs Stitched Rectangles from smooth white cardstock
  • stamp the coffee mug from the Gerda Steiner Designs You're koalified set and mask it, stamp the mouse from the Fall Mice set and mask it as well, stamp the computer and the sentiment from the STAMPlorations Hello you set
  • color the scene with Delta, Touch Twin Brush and Copic Markers - add extra shading with Prismacolor Colored Pencils and Zest-it
  • add highlights with a white gel pen
  • cut out a larger stitched rectangle from patterned paper from the My Favorite Things Graphic Grid Pastels 6x6 paper pad and adhere all the layers onto a white cardbase

Enjoy the rest of the Hop.

Hugs,


Thursday, May 24, 2018

Alcohol ink Backgrounds

Hi there,

I would like to show you some projects using Alcohol Ink Backgrounds over in the Stamping-Fairies Facebook Group:


Have a wonderful day.

Hugs,


Tuesday, May 22, 2018

Grateful Heart

Hi there,

today, is going to be just fabulous because Elizabeth Craft Designs is releasing new dies in the Susan's Garden series.

Here is my first creation using the new Susan's Garden Forget me not and the Baby's Breath:

  • cut out all the elements needed for the Elizabeth Craft Designs Susan's Garden Forget me not and Baby's Breath from white Soft Finish Cardstock
  • color them with Alcohol Markers 
  • shape them with the help of the Elizabeth Craft Designs Susan's Garden Tool Set and add shading with PanPastels
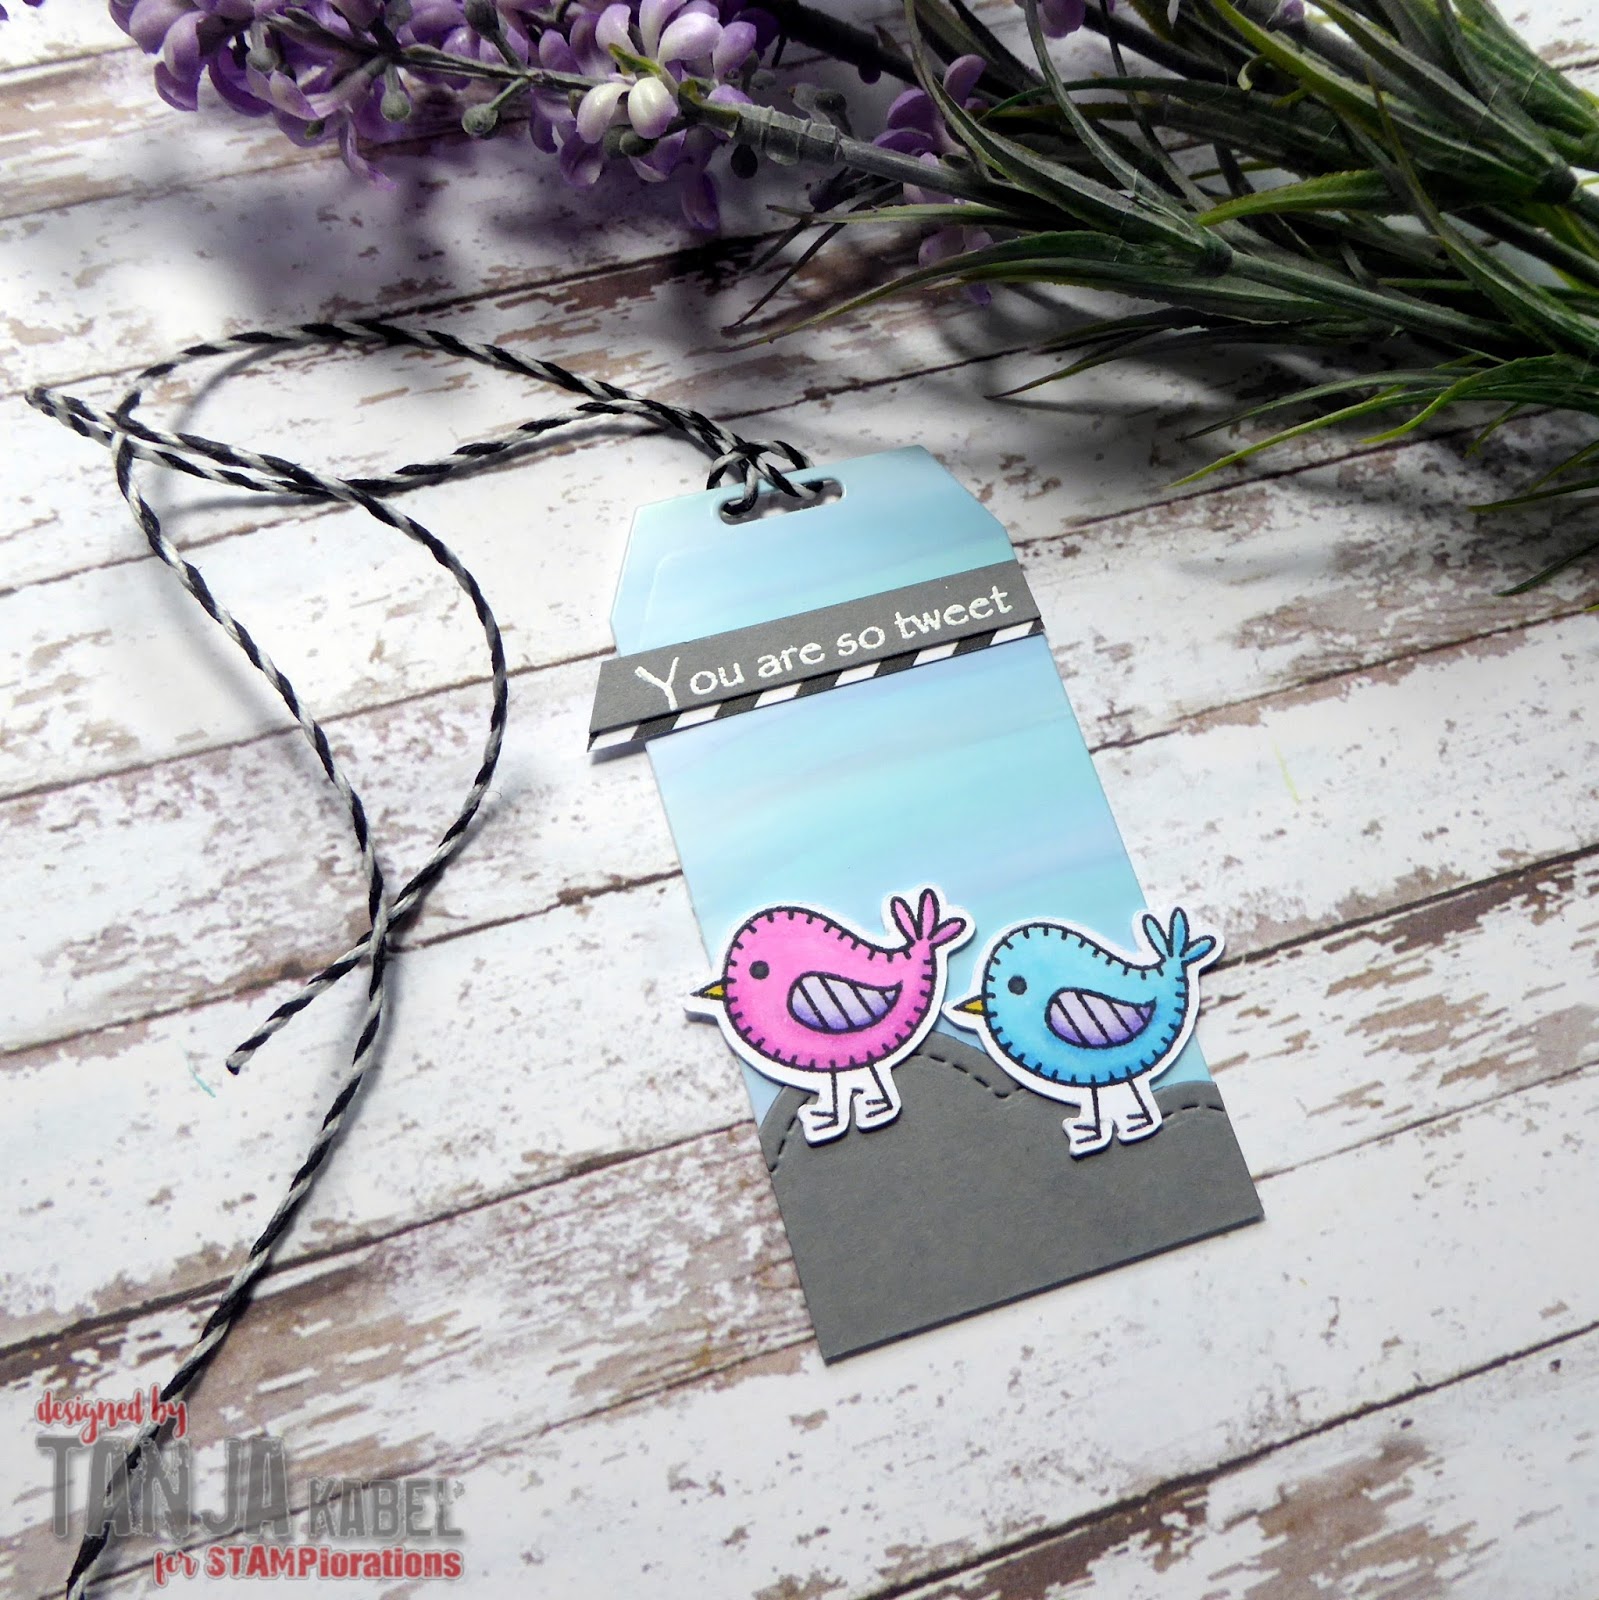
  • cover a tag with an old gelli print using gel medium
  • grunge up the edges with a black Stabilo All pencil
  • stamp some elements from the STAMPlorations Mixed Media Grunge set with Archival Ink Watering Can
  • adhere the flowers to the tag
  • cut out a ladybug from the Elizabeth Craft Designs Susan's Garden Bugs & Butterflies die set, color it, shape it and adhere it to one of the leaves - to achieve a shiny, more realistic look add a thick coat of Nuvo Crystal Glaze on top
  • dye a piece of seam binding with Distress Ink Hickory Smoke and thread it through the hole of the tag
  • add a sentiment sticker


On my second project I used the new Elizabeth Craft Designs Susan's Garden Poppy:

  • cut out the Elizabeth Craft Designs Susan's Garden Poppy from white Soft Finish Cardstock
  • color the flower with Delta, Touch Twin Brush and Copic Markers and add shading with PanPastels
  • shape all the elements with the help of the Elizabeth Craft Designs Susan's Garden Tool Set and add Prills to the flower center
  • cut out a ladybug from the Elizabeth Craft Designs Susan's Garden Bugs & Butterflies die set, color it, shape it and adhere it to one of the leaves - to achieve a shiny, more realistic look add a thick coat of Nuvo Crystal Glaze on top
  • create the backdrop with the help of a gelli plate, tissue paper, Dina Wakley Heavy Body Acrylic Paints, Dina Wakley Scribble Sticks, bubblewrap and a brayer
  • cut out a frame using patterned paper from the ModaScrap Wood Effect 6x6 paper pad and two of the Elizabeth Craft Designs Stitched Rectangles
  • cut out a stitched panel from kraft cardstock with one of the bigger Elizabeth Craft Designs Stitched Rectangles 
  • create the sentiment with the help of the Elizabeth Craft Designs Thanks die and rose gold foil

I hope you got inspired.

Hugs,


Have a ball!

Hi there,

I would like to show you another creation using the fabulous new Gerda Steiner Designs Dachshunds stamp set:

  • color one of the dogs and the ball from the Gerda Steiner Designs Dachshunds stamp set with ZIG Clean Color Real Brush Pens and a damp watercolor brush
  • add color to the sentiment strip with Distress Ink Salty Ocean
  • cut out a stitched window from a stitched panel cut from Gmund Beer Paper Weizen
  • create a shaker element behind the window with the help of acetate, double-sided foam adhesive and Little Things from Lucy's Cards Diamonds Rainbow Bright
  • for the background behind the window apply Distress Ink Salty Ocean through the Create a Smile Focal Point stencil
  • adhere the panel to a grey cardbase after arranging the elements in front of the shaker window

Thanks for stopping by.

Hugs,


Sunday, May 20, 2018

Soar

Hi there,

this is just a quick reminder of this month's Mixed Media Challenge over on the STAMPlorations Blog:

  • apply Transfer Gel through the ARTplorations Some Birds stencil onto a piece of torn vellum and let this dry until it's clear
  • run the vellum strip though the Mini Minc in order to foil the birds
  • cut out an ATC from watercolor paper using the CUTplorations ATC/Tag Builder die set
  • stamp the STAMPlorations Bloomtangled ATC #1 with Versamark and heat-emboss it with WOW! Bright White Super Fine embossing ppowder
  • color the image with Ecoline Brush Pens and a damp watercolor brush
  • create the sentiment with a label maker

Enjoy the rest of the hop.

Hugs,


Thursday, May 17, 2018

Love

Hi there,

I would like to show you this Shaker Card over in the Stamping-Fairies Facebook Group:


Have a wonderful day.

Hugs,


Wednesday, May 16, 2018

Never too late

Hi there,

I would like to show you this home decor piece that I created for my son's room and I hope it inspires you to join the Addicted to Stamps and More Make your Mark Challenge:

  • cover a burlap panel with some Prima Marketing Modeling Paste and roll a textured brayer or stamp over this background - let this layer dry thoroughly 
  • add some color with watered-down Dina Wakley Heavy Body Acrylic Paints (Turquoise, Night) - add some splatters with the dark blue as well
  • glue on some book text and a sticker with matte medium
  • add Prima Marketing Metallique Wax Bronze Age to the raised areas
  • cut out the largest of the Memory Box Leavenworth Trio butterflies from sturdy white cardstock and add color with that same acrylic paints and the wax
  • use hot glue to adhere it in the top right corner of the panel


I hope you got inspired.

Yours,


Tuesday, May 15, 2018

You are so tweet

Hi there,

this is just a quick reminder of this month's TAGplorations Challenge over on the STAMPlorations Blog:

  • cut out one of the CUTplorations Manila Tags from Yupo paper
  • add color with Alcohol Inks
  • stamp the cute little bird from the STAMPlorations Tweet Love set with Memento Tuxedo Black and color the images with Delta, Touch Twin Brush and Copic Markers - add extra shading with Faber-Castell Polychromos Pencils and Zest-it
  • cut out a cloud shape from grey cardstock using one of the Lawn Fawn Puffy Cloud Border dies
  • stamp the sentiment from the same set with Versamark onto a grey sentiment strip and heat-emboss it with WOW! Bright White Super Fine embossing powder
  • layer the sentiment strip onto a piece of black and white patterned paper
  • thread a piece of matching twine through the hole of the tag

I hope you got inspired.

Hugs,


Celebrate Bird

Hi there,

it's time for a new Challenge over on the Elizabeth Craft Designs Blog and this time the topic is "All that glitters":


  • stamp the adorable little birthday bird from the Elizabeth Craft Designs Bird Day Party set with My Favorite Things Extreme Black and color the image with Delta, Touch Twin Brush and Copic Markers
  • cover a piece of white cardstock with Elizabeth Craft Designs Clear Double Sided Adhesive and add Elizabeth Craft Designs Microfine Glitter Copper Rose and Cool Diamond
  • cut out some little dots from the Elizabeth Craft Designs Small Flowers set and "celebrate" from the Elizabeth Craft Designs Words 1 Celebration set
  • cut out a piece of watercolor paper with the help of one of the ModaScrap Dashing Rectangles dies 
  • create a watercolor background using watered-down Distress Ink Weathered Wood and a piece of acetate
  • add a panel of matching cardstock underneath the panel before adhering all the layers to a white cardbase


I can't wait to see your creations in the gallery.

Hugs,


Monday, May 14, 2018

Just for you Penguin

Hi there,

here is another creation using the new Karten-Kunst Kränze und Kreise stamp set:

  • stamp one of the circles from the Karten-Kunst Kränze und Kreise set and the sentiment from the Karten-Kunst Blümchen Meer set with Versafine Onyx Black
  • add some hearts from the Karten-Kunst Kränze und Kreise set using several Altenew Crisp Inks (Pink Diamond, Pinkalicious, Rubellite, Razzleberry)
  • water-down some Distress Paint (Picked Raspberry) for some splatters
  • stamp one of the adorable little penguins from the Gerda Steiner Designs Valentine Penguins with Versafine Onyx Black and color the image with Derwent Inktense Pencils and a damp watercolor brush
  • mount the stitched panel onto a pink cardbase


I hope you got inspired.

Yours,