Friday, December 30, 2016

Art Journal Covers

Hi there,

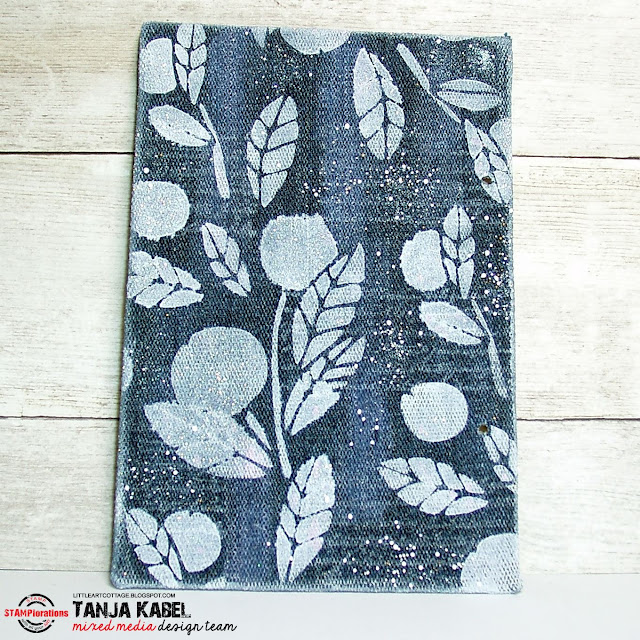
I have another Step-by-Step Tutorial for you over on the STAMPlorations Blog. Do you remember all those Art Journal Pages I created? I made some covers for them:


Thanks for stopping by.

Yours,


Thursday, December 29, 2016

Christmas Gifts

Hi there,

for this adorable Christmas Card I combined two Digital Images from Gerda Steiner Designs:

  • color the Gerda Steiner Designs Naughty Puppy and the Kitten in Giftbag image with ZIG Clean Color Real Brush Pens, Distress Markers and a damp watercolor brush
  • add highlights with a white gel pen
  • stamp the sentiment from the Mama Elephant Jolly and Merry set with Versafine (Vintage Sepia) and add little dots, circles and stars from that same stamp set with Delicata (Golden Glitz)
  • adhere the stitched panel to a kraft cardbase

Thanks for stopping by.

Yours,


Wednesday, December 28, 2016

Snowglobe Tag

Hi there,

when I first saw the Tim Holtz Snowglobe Die Set I knew that I had to have it. Here is my creation using it for the Stamping-Fairies Blog:

  • cut out all the elements of the Tim Holtz Snowglobe die set from watercolor paper, Distress Cardstock, Kraft-Core Nostalgic cardstock and golden glitter cardstock
  • add shadows to all the little pieces with Distress Ink (Hickory Smoke) and a Mini Ink Blending Tool
  • create a background on the watercolor panel with Distress Inks (Faded Jeans, Chipped Sapphire, Black Soot)
  • spitz the background panel with Sheer Shimmer Spritz Sparkle and add splatters with white watercolor paint
  • punch out a little star at the top to turn it into a tag and thread twine through this star-shaped hole

Thanks for stopping by.

Yours,


Monday, December 26, 2016

Merry Christmas Sleeping Deer

Hi there,

I created this cute little Christmas Scene for the Karten-Kunst Blog:

  • cut out two stitched panels from watercolor paper 
  • cut out the Poppy Stamps House in the Woods from one of them - I cut away the house because I didn't need it for my scene
  • add a little shading to the trees using watered-down Distress Ink (Hickory Smoke)
  • create a background on the other panel with Distress Inks (Tumbled Glass, Shaded Lilac, Broken China) and a Mini Ink Blending Tool 
  • mist it the finished background panel with Pearlized Water
  • stamp some snowflakes from the Memory Box Snowglobe Wishes set with Delicata (Silvery Shimmer) and add some dots with a white gel pen
  • color the adorable little sleeping deer from the same stamp set with Delta, Touch Twin Brush and Copic Markers 
  • add the sentiment with Versafine (Onyx Black)

Have a very Merry Christmas.

Yours,


Friday, December 23, 2016

Christmas Pixie

Hi there,

I would like to show you this classic yet modern Christmas Card over on the A Day for Daisies Blog:

  • color the A Day for Daisies Christmas Pixy Two image with ZIG Clean Color Real Brush Pens, Distress Markers and a damp watercolor brush
  • add some Wink of Stella Clear Glitter to the ornament and some white Liquid Applique to the ends of her scarf and the pompons on her shoes
  • in the background I did some - as I call it - collage stamping using the STAMPlorations Joyful set, the WPlus9 Little Bits set and Versafine (Onyx Black)
  • add a strip of yellow foiled cardstock and a thin strip of black cardstock to the right side of the panel before adhering it to a white cardbase

Have a day for daisies.

Yours,