Showing posts with label Clearly Besotted Stamps. Show all posts

Thursday, July 9, 2026

Once upon a Time

Hi there,

it's Inspiration Week over at Mennys Bastelshop and this week our topic is "Background with Small Stamps". I used the Lawn Fawn Silly Goose! stamp set on my project:

  • cut out a My Favorite Things Wonky Stitched Rectangle from kraft cardstock
  • create a background using small stamps from the Lawn Fawn Silly Goose! and the Lawn Fawn Little Woodland Library stamp sets and 49 and Market Cappuccino 
  • create another background with the help of an embossing folder and Distress Ink Walnut Stain
  • stamp one of the images from the Lawn Fawn Silly Goose! set with Gina K. Obsidian
  • color the image with Ohuhu Markers, add extra shading with Faber-Castell Polychromos pencils and highlights with a white gel pen
  • stamp the sentiment from the Clearly Besotted Stamps Bedtime Story set with Versamark and heat-emboss it with WOW! Opaque Vanilla White embossing powder
  • wrap some neutral twine around the base background before assembling the card

I hope you got inspired.

Hugs,


Thursday, July 2, 2026

Happy Birthday Fox Tag

Hi there,

I created this sweet Birthday Tag for Mennys Bastelshop using the Lawn Fawn Build-a-Fox and the Lawn Fawn Build-a-Critter Spring Accessories die sets:

  • cut out a tag from grass cardstock using the Sunny Studio Stamps Mini Mat and Tag 3 die set
  • cut out the Fox and its sweet little dress using the Lawn Fawn Build-a-Fox, the Lawn Fawn Build-a-Critter Spring Accessories die sets and colored cardstock
  • ink up the edges with Distress Ink and add highlights with a white gel pen
  • add a sentiment banner using the Clearly Besotted Stamps Tiny Type set and Brilliance Pearlescent Ivy
  • add a little yellow flower around the hole and thread two strands of twine through the hole of the tag

Thanks fro stopping by.

Hugs,


Thursday, June 11, 2026

A Mole lot of Love - Part 1

Hi there,

a few months back I saw a beautiful card by Rachel Alvarado using the Lawn Fawn A Mole Lot of Love and the A Mole Lot of Love Add-Ons stamp sets and I instantly new that I had to recreate this card:

  • stamp images from the Lawn Fawn A Mole Lot of Love, the Lawn Fawn A Mole Lot of Love Add-Ons and the Lawn Fawn Gleeful Gardens sets with Lawn Fawn Jet Black
  • color the images with Ohuhu Markers, add extra shading with Faber-Castell Polychromos pencils and highlights with a white gel pen
  • stamp the sentiment from the Clearly Besotted Stamps Many Mini Messages set with Distress Oxide Ink Pumice Stone
  • cut out rounded stitched rectangles
  • create a background with Distress Ink Pumice Stone and Tumbled Glass and the My Favorite Things Mini Cloud stencil

Next week I will show you my own take on it.

Hugs,


Thursday, June 4, 2026

You Are the Only One for Me

Hi there,

it's Inspiration Week over at Mennys Bastelshop and this week our topic is "Embossing Folder". I used the Purple Onion Designs Allie Kitty on Rock stamp set on my project:

  • stamp the adorable Purple Onion Designs Allie Kitty on Rock with My Favorite Things Extreme Black onto a rounded rectangle from the Stitched Rounded Rectangle STAX die set
  • color the image and the background with Ohuhu Markers and add extra shading with Faber-Castell Polychromos pencils
  • create a background with an embossing folder
  • stamp the sentiment from the Clearly Besotted Stamps Deep Blue Corners set with Versamark onto a strip of torn vellum and heat-emboss it with Distress Embossing Glaze Salvaged Patina

I hope you got inspired to give some love to your embossing folders.

Hugs,


Thursday, May 8, 2025

You are Magical

Hi there,

it's time for the Inspiration Week over at Mennys Bastelshop and this week our topic is "Regenbogen/Rainbow". I used the Paperie Ink Magical Unicorn stamp set on my project:


  • stamp one of the unicorns from the Paperie Ink Magical Unicorn set with Gina K. Designs Obsidian
  • color the image with Spectrum Noir Triblend Markers, add extra shading with Faber-Castell Polychromos pencils and highlights with a white gel pen
  • add some sparkle with a Stardust gel pen
  • stamp the sentiment from the same set with Brilliance Pearlescent Orchid
  • create a background using the Clearly Besotted Stamps Splat it stencil and leftover ink on your Blending Brushes
  • use an Action Wobbler to adhere the unicorn to the panel
  • add strips of patterned paper to the left and right side of the panel before adhering it to a cardbase

I hope you got inspired.

Hugs,


Thursday, February 22, 2024

Lovely Penguins

Hi there.

I created this sweet card using the Pixi Dust Designs Be Mine set for Mennys Bastelshop:

  • stamp the adorable penguins from the Pixi Dust Designs Be Mine set with Gina K. Designs Obsidian
  • color the image with Spectrum Noir Triblend Markers, add extra shading with Faber-Castell Polychromos pencils and highlights with a white gel pen
  • mask off the image
  • create a background with the help of Distress Ink (Saltwater Taffy, Hickory Smoke), masking tape and the Clearly Besotted Stamps Lots of Love stencil
  • add color to a cardbase with Distress Oxide Ink Saltwater Taffy
  • add a Sunny Studio Stamps Eyelet Lace Border to the top and bottom of the panel before adhering it to the cardbase

Thanks for stopping by today.

Hugs,


Monday, February 12, 2024

Lots of Love

Hi there,

I created this Valentine's Day Card for the Karten-Kunst Blog:

  • cut out the Karten-Kunst Wavy Heart from a panel of smooth white cardstock
  • color the inlays with Distress Ink Spun Sugar and puzzle it back in
  • use the Clearly Besotted Stamps Lots of Love stencil and Distress Ink Spun Sugar to create a background
  • cut out the "XOXO" from a strip of light pink cardstock using the Karten-Kunst Stencil Alphabet
  • create the second part of the sentiment with the Karten-Kunst Aus der Schreibmaschine set, Versamark, WOW! Bright White Super Fine embossing powder and a strip of pink cardstock
  • a strips of patterned paper to left and right side of the panel before adhering it to a cardbase
 
I hope you got inspired.

Hugs,


Friday, January 19, 2024

Snow much Fun

Hi there,

I created this cute Winter Scene using the Anjas Basteltraum Frostige Schneeballschlacht stamp set:

  • stamp the raccoon behind the tree and some snowballs from the Anjas Basteltraum Frostige Schneeballschlacht set with Gina K. Designs Obsidian onto a panel of watercolor paper
  • color the images and the background with Schmincke Horadam watercolors
  • add extra shading with Faber-Castell Polychromos pencils and highlights with a white gel pen
  • apply texture paste through the Clearly besotted Stamps Snow Day stencil
  • stamp the sentiment from the same set with Versamark onto a strip of blue cardstock and heat-emboss it with WOW! Bright White Super Fine embossing powder
  • adhere the panel to a cardbase covered with patterned paper

Have a wonderful day.

Hugs,


Thursday, December 28, 2023

Christmas Holidays

Hi there,

I created this sweet Christmas Card for Menny's Bastelshop:

  • create a window scene with the help of the Tim Holtz Tree Line die, the Clearly Besotted Stamps Window die, Distress Ink Tumbled Glass and watered-down white gouache
  • create a background using Distress Ink Pumice Stone, the Clearly Besotted Stamps Build it stencil, the Hero Arts Designer Woodgrain stamp and Distress Oxide Ink Pumice Stone
  • stamp all the elements from the Lawn Fawn Christmas Dreams set with Gina K. Obsidian, cut them out and color them with Schmincke Horadam Watercolors
  • add strips of patterned paper to the top and bottom of the panel before adhering it to a cardbase

I hope you had wonderful Christmas Days.

Hugs,


Thursday, December 7, 2023

Happy Holidays Magic Picture Changer

Hi there,

I created this Christmas Magic Picture Changer using lots of Lawn Fawn goodies for the Mennys Bastelshop Inspiration Week and this time our topic is "Christmas":


  • stamp the changing picture by using the tree from the Lawn Fawn Christmas Dreams set, the gifts from the Lawn Fawn Toboggan Together set and the squirrels from the Lawn Fawn Cheery Christmas set - use the Masking Technique and Lawn Fawn Jet Black Ink
  • color the images and the background with Delta, Touch Twin Brush and Copic Markers and add extra shading with Faber-Castell Polychromos pencils
  • cut out all the necessary elements to create a Magic Picture Changer from the Lawn Fawn Magic Pícture Changer and the Lawn Fawn Magic Picture Changer Add-on Die Sets
  • add color with Distress Oxide Ink (Mermaid Lagoon, Chipped Sapphire) and some snow with watered-down white acrylic paint
  • stamp additional images to create a scene around the Magic Picture Changer - the bear and the train from the Lawn Fawn Holiday Helpers set, the sleigh, the present and the bag from the Lawn Fawn Ho Ho Holidays set, the deer from the Lawn Fawn Cheery Christmas set and the bird from the Lawn Fawn Making Frosty Friends set
  • color the rest of the images with Delta, Touch Twin Brush and Copic Markers and add extra shading with Faber-Castell Polychromos pencils
  • cut out two hills shapes and adhere them with double-sided foam adhesive and make sure to not get in the way of the picture changing mechanism
  • stamp the sentiment from the Clearly Besotted Stamps Sweet Little Sentiments set with Versamark onto a banner cut from kraft cardstock and heat-emboss it with WOW! Bright White Super Fine embossing powder

Have a christmasy day.

Hugs,


Wednesday, April 19, 2023

Watercolor Cottage

Hi there,

I created this cute watercolor Tag Card using the Anjas Basteltraum Hüttenlandschaft and Kleine Sprüche Blumengruß stamp sets:

  • cut out the Clearly Besotted Stamps Rounded Tag from Hahnemühle Expression watercolor paper
  • stamp the little cottage and the mountain range from the Anjas Basteltraum Hüttenlandschaft with Distress Ink Antique Linen - use the Masking Technique
  • color the scene with watercolors
  • cut out another tag from dark red cardstock and layer it behind the watercolor tag
  • thread two strands of twine through the holes of the tags
  • create a background using kraft cardstock, the Tim Holtz Tree Rings embossing folder and Distress Ink Walnut Stain
  • stamp the sentiment from the Anjas Basteltraum Kleine Sprüche Blumengruß with Versamark and heat-emboss it with Opaque Seafoam White Super Fine embossing powder


I hope you got inspired.

Hugs,


Saturday, February 11, 2023

Watercolor Greetings

Hi there,

I created this no-line coloring watercolor tag using the new Anjas bastelraum Blumengrüße set:


  • cut out a Clearly Besotted Stamps Rounded Tag from watercolor paper
  • use the Ink on 3 Fadeout Ink and the Masking Technique two stamp a flower and two leaves from the Anjas Basteltraum Blumengrüße set
  • color the image with watercolors
  • stamp the sentiment from the Anjas Basteltraum Kleine Sprüche Blumengruß set with Distress Oxide Ink Worn Lipstick
  • ink up the edges of the tag with Distress Ink Frayed Burlap
  • dye a piece of torn seam biding with that same watered-down ink and thread it through the hole of the tag


Have a wonderful day.

Hugs,


Thursday, January 19, 2023

I give you my Heart

Hi there,

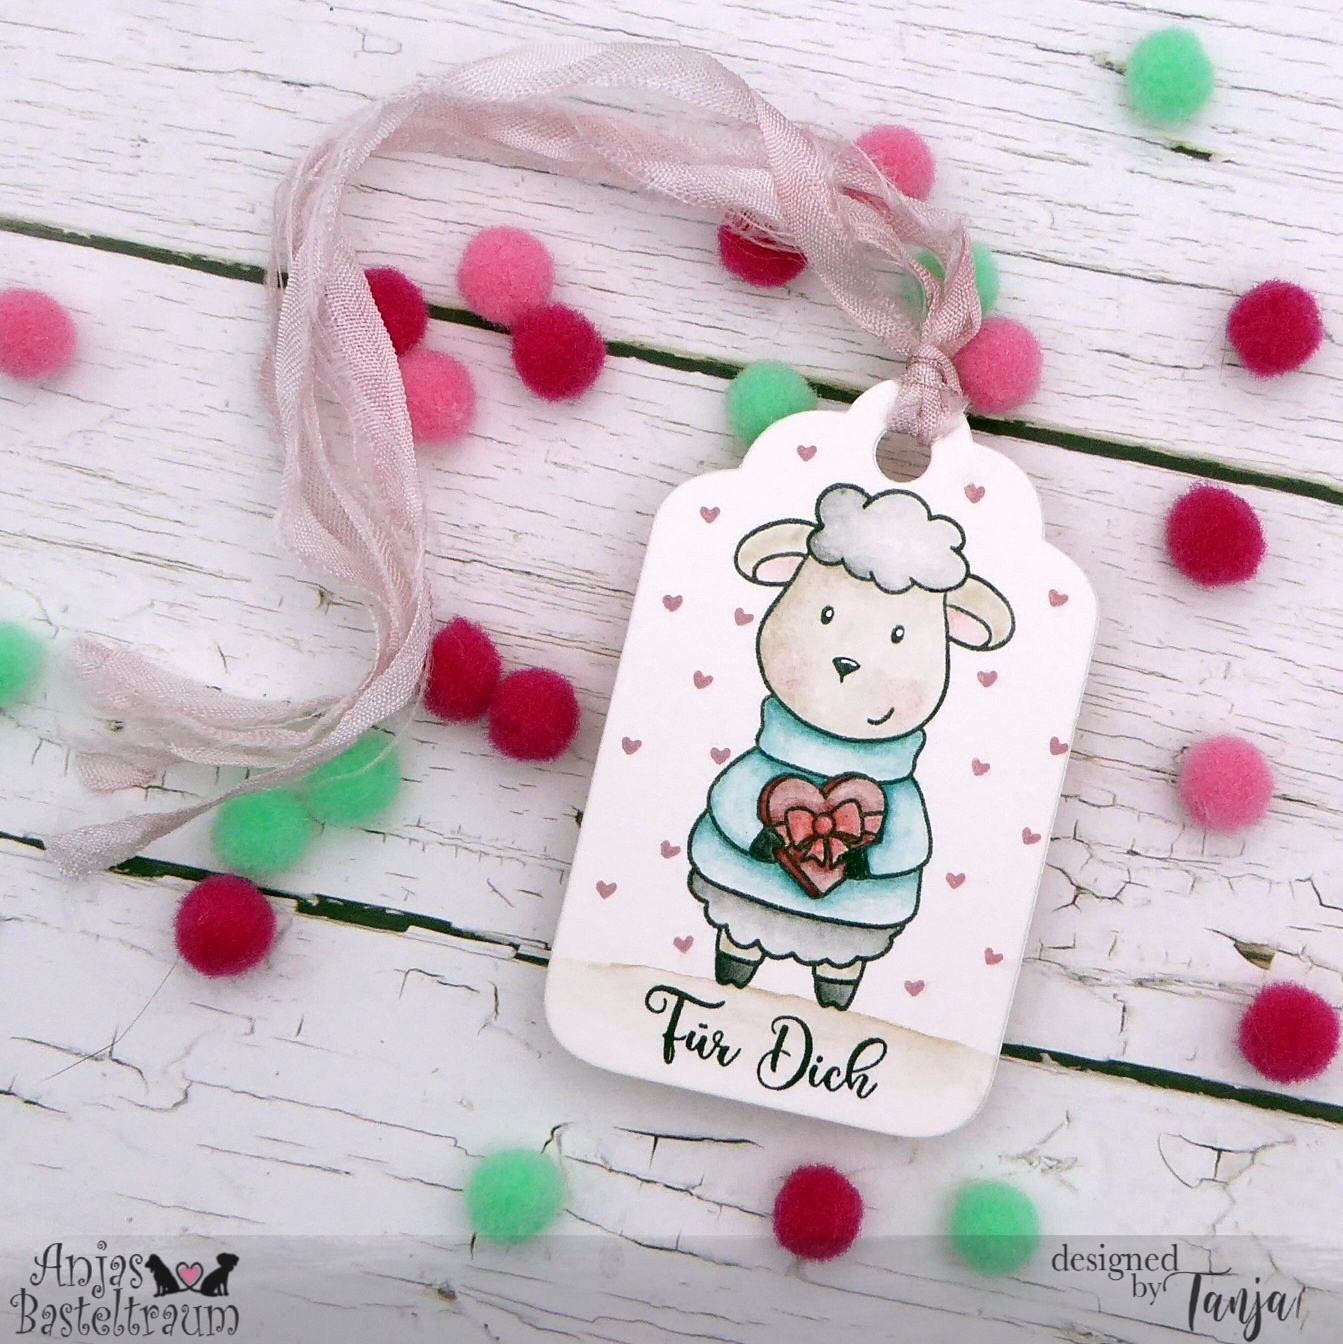
here's a cute tag that I created using an image from the Anjas Basteltraum Wollige Weihnachten stamp set:

  • cut out a Clearly Besotted Stamps Scalloped Tag from watercolor paper and from patterned paper for the backside
  • stamp one of the adorable little sheep and the sentiment from the Anjas Basteltraum Wollige Weihnachten set with Versafine Onyx Black
  • color the image with watercolors
  • add highlights with a white gel pen
  • stamp one of the tiny hearts from the Anjas Basteltraum Kleine Post Sprüche with Distress Oxide Ink Victorian Velvet
  • dye a piece of torn seam binding with Distress Ink Victorian Velvet and thread it through the hole of the tag


Thanks for stopping by.

Hugs,


Thursday, December 15, 2022

Christmas Cat

Hi there,

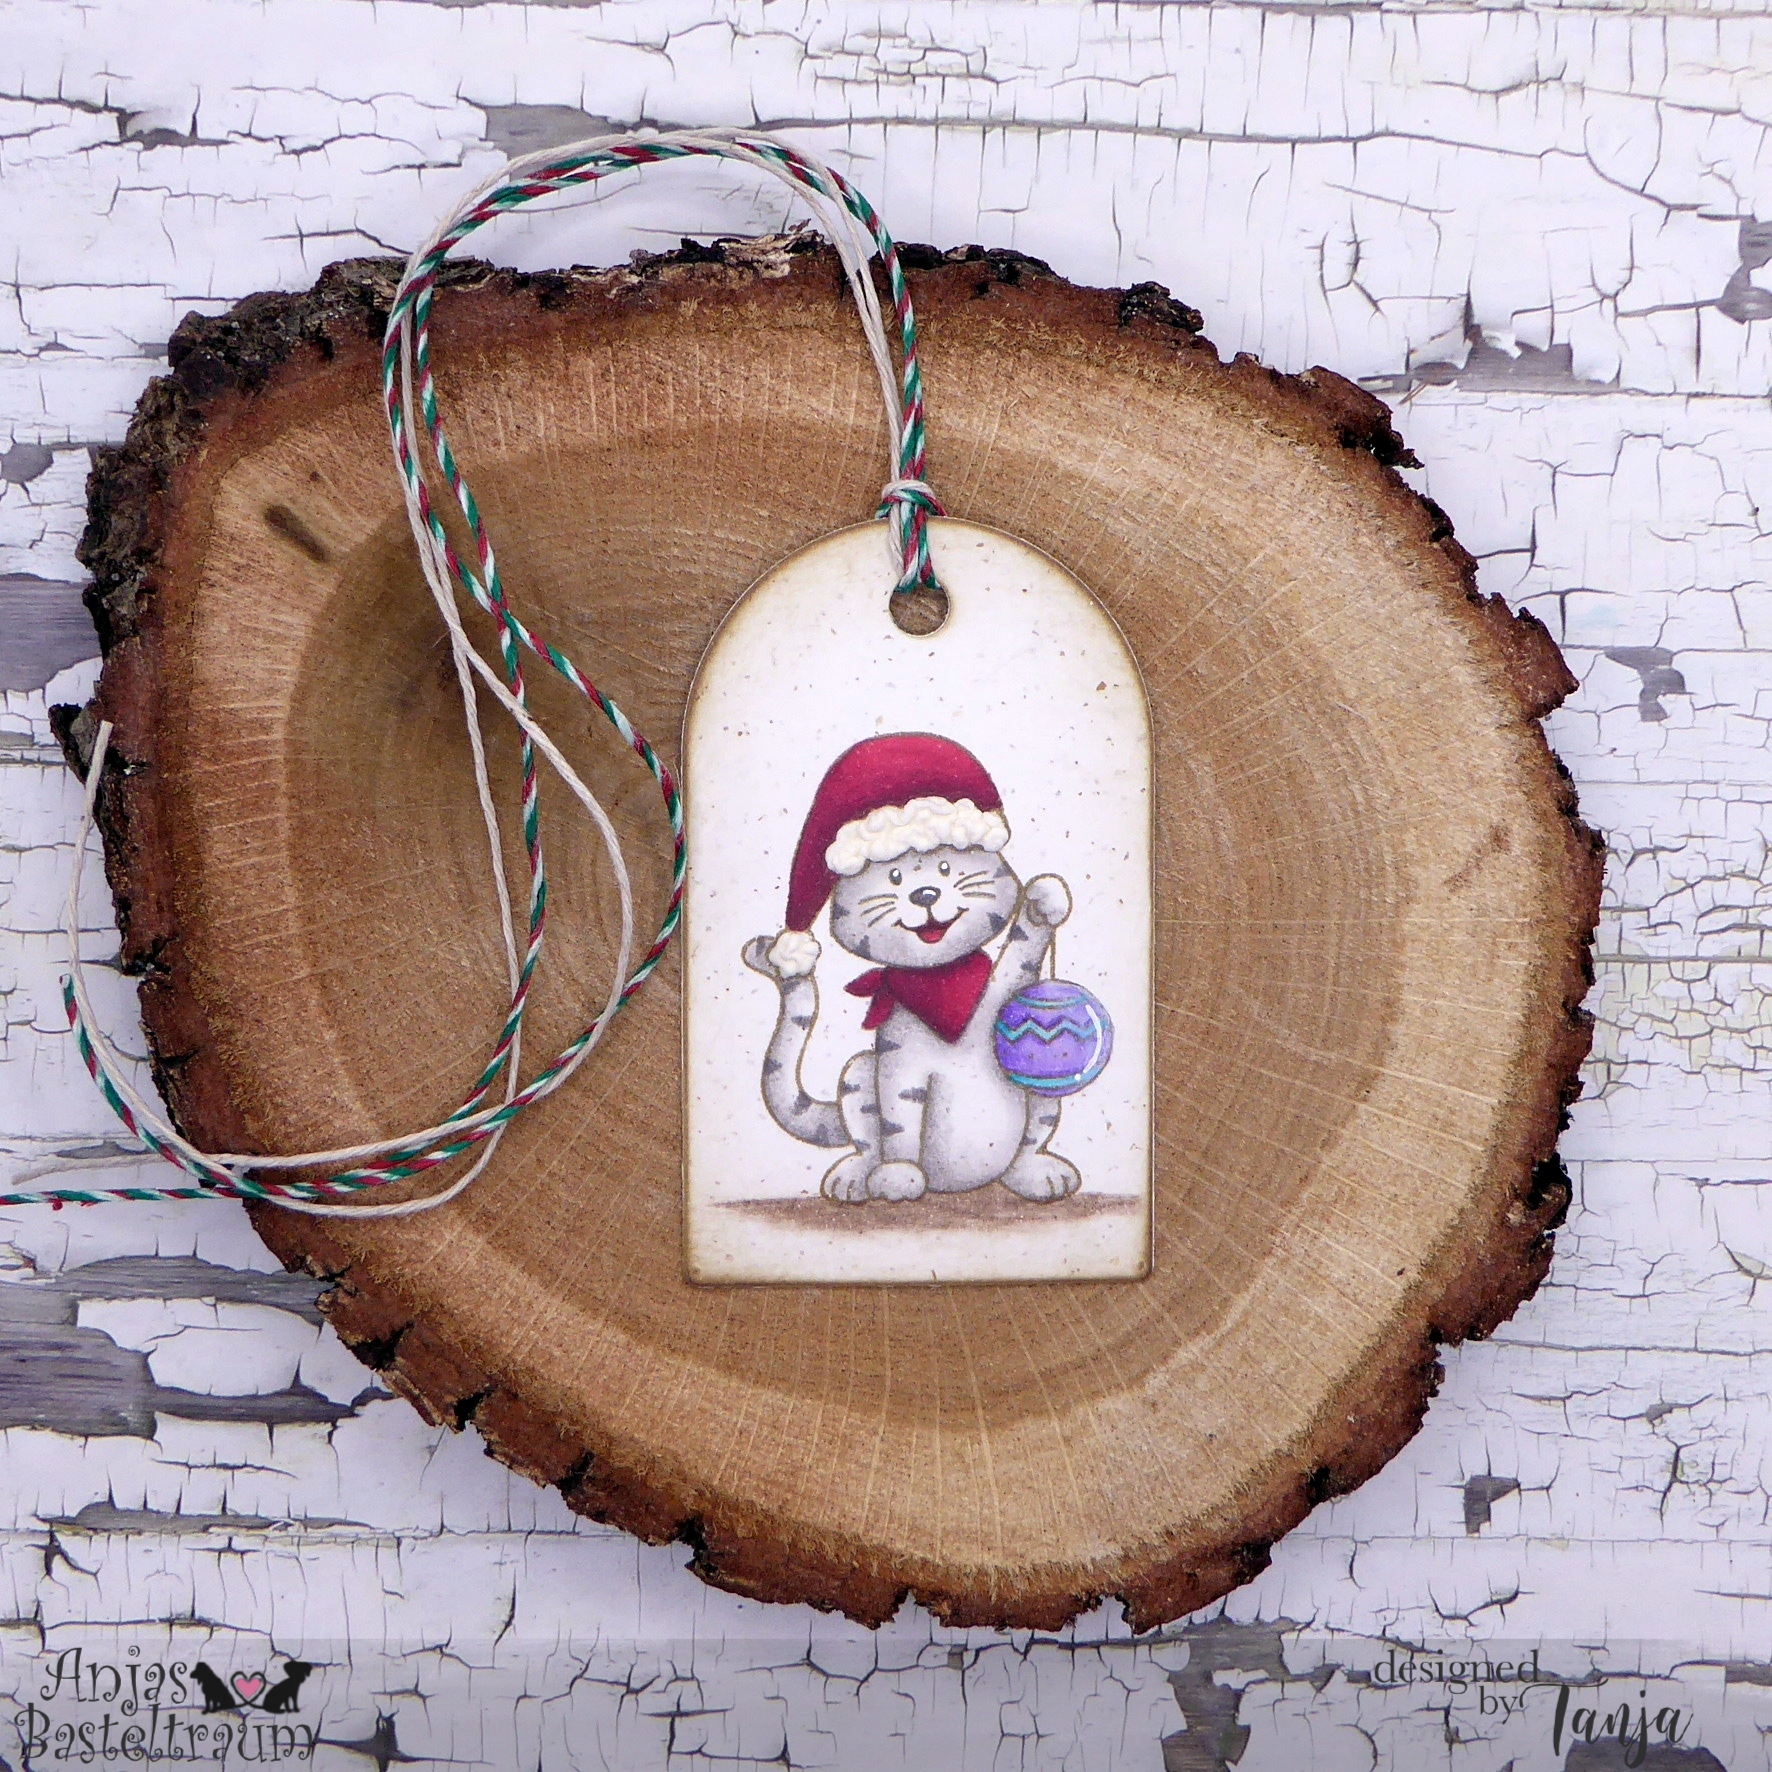
I created this sweet tag using the adorable Anjas Basteltraum Weihnachten bei Katz und Maus stamp set:

  • cut out a Clearly Besotted Stamps Rounded Tag from Gmund Beer Paper Weizen
  • stamp the Santa Hat and the cat from the Anjas Basteltraum Weihnachten bei Katz und Maus set with Lawn Fawn Crunchy Leaf
  • color the image with Spectrum Noir Triblend Markers, add extra shading with Faber-Castell Polychromos pencils and highlights with a white gel pen
  • ink up the edges of the tag with Distress Ink Gathered Twigs
  • add texture to the rim and the pompon of the hat with Liquid Applique
  • cover the backside of the tag with patterned paper and thread two strands of twine through the hole of the tag


Have a wonderful Christmas Time.

Hugs,


Tuesday, November 8, 2022

Coffee Hedgehog Tag

Hi there,

I created this sweet hedgehog tag using the Gerda Steiner Designs Coffee Hedgehog stamp set:

  • cut out a Clearly Besotted Stamps Rounded Tag from smooth white cardstock
  • add a strip of washi tape to the bottom of the tag
  • stamp the hedgehog and the coffee mug from the Gerda Steiner Designs Coffee Hedgehog set with Lawn Fawn Crunchy Leaf - use the masking technique
  • color the image with Spectrum Noir Triblend Markers, add extra shading with Faber-Castell Polychromos pencils and highlights with a white gel pen
  • ink up the edges of the tag with some orange ink left in your blending brush and thread two strands of twine through the hole of the tag


Thanks for stopping by.

Hugs,


Monday, November 7, 2022

Sweet Christmas

Hi there,

I created this sweet tag using the Anjas Basteltraum Unter dem Mistelzweig stamp set:

  • cut out a tag from smooth white cardstock using the Clearly Besotted Rounded Tag
  • stamp the image from the Anjas Basteltraum Unter dem Mistelzweig set with Lawn Fawn Jet Black
  • color the image with Spectrum Noir Triblend Markers, add extra shading with Faber-Castell Polychromos pencils and highlights with a white gel pen
  • add patterned paper borders to the top and bottom of the tag, ink up the edges with Distress Ink Cracked Pistachio and thread three strands of twine through the hole of the tag


Have a wonderful day,

Hugs,


Wednesday, October 19, 2022

Love Bunnies

Hi there,

I created this sweet tag using the Anjas Basteltraum Unter dem Mistelzweig stamp set for my husband's birthday and our wedding anniversary:

  • stamp the adorable little bunnies and the hearts from the Anjas Basteltraum Unter dem Mistelzweig set with Lawn Fawn Jet Black
  • color the image with Spectrum Noir Triblend Markers, add extra shading with Faber-Castell Polychromos pencils and highlights with a white gel pen
  • for more sparkle and shine use the Wink of Stella Clear Glitter on the three hearts
  • ink up the edges of the Clearly Besotted Stamps Rounded Tag with Distress Ink Victorian Velvet and thread two strands of twine through the hole of the tag
  • cover the backside of the tag with matching patterned paper


I hope you got inspired.

Hugs,


Tuesday, October 11, 2022

Hip, Hip, Hooray

Hi there,

I created this colorful little tag using the Gerda Steiner Designs Penguin Cake stamp set:

  • cut out a tag and the bow from the Clearly Besotted Stamps Tag Along die set
  • stamp a penguin and a cake from the Gerda Steiner Designs Penguin Cake set with Lawn Fawn Jet Black
  • color the images with Spectrum Noir Triblend Markers, add extra shading with Faber-Castell Polychromos pencils and highlights with a white gel pen
  • stamp the sentiment from that same set with a pink ink
  • ink up the edges of the tag and the bow with Distress Ink Picked Raspberry
  • thread two strands of twine through the hole of the tag
  • add some sequins as final embellishments

Thanks for stopping by.

Hugs,