Showing posts with label Glitter. Show all posts

Monday, May 1, 2023

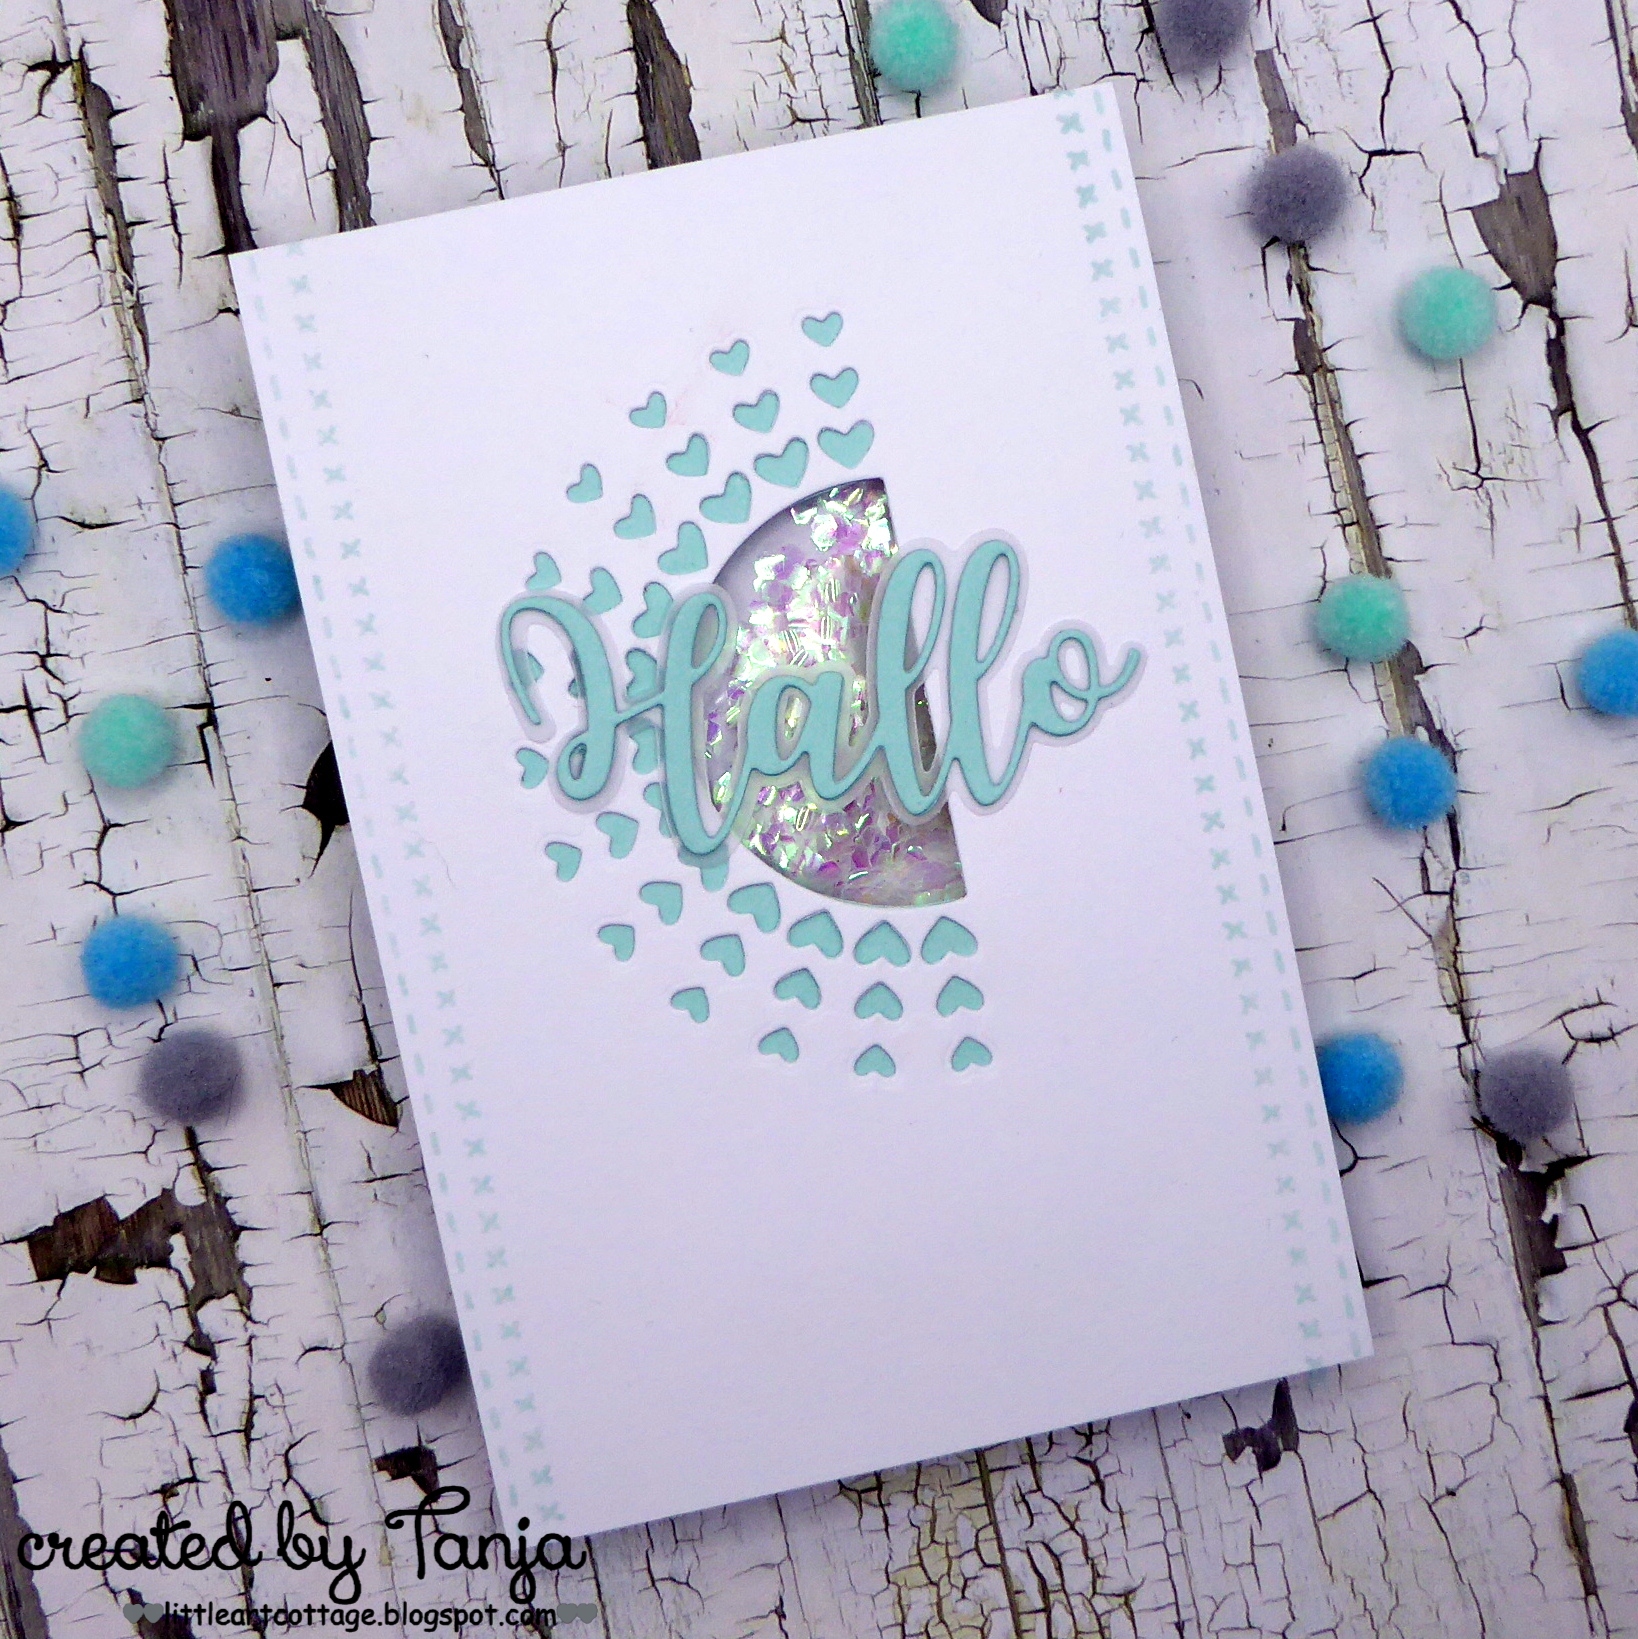
Hello Shaker

Hi there,

I created this Shaker Card for the Karten-Kunst Blog:

  • cut the Karten-Kunst Heart Rays into a panel of smooth white cardstock
  • layer turquoise cardstock behind the hearts and acetate behind the half circle
  • stamp two of the Karten-Kunst Borders with turquoise pigment ink
  • create a shaker element using double-sided foam adhesive and fill it with sparkling confetti
  • cut out the Karten-Kunst Riesiges Hallo from vellum and turquoise cardstock and add it as a sentiment


Have a wonderful day.

Hugs,


Saturday, December 25, 2021

Merry Christmas

Hi there,

I am wishing you all a peaceful Christmas Time:


  • cut out a stitched scalloped frame six times from white cardstock and once from silver foiled cardstock
  • build a shaker element using those frames, a piece of acetate and coarse glitter
  • stamp a background using the Karten-Kunst Washi-Tape Weihnachten set and Distress Oxide Ink (Spun Sugar, Salvaged Patina)
  • add the Karten-Kunst Nyala Script Frohes Fest cut from pink and silver foiled cardstock
  • embellish the card with stars cut with the help of the Karten-Kunst Stars in Row die set and silver foiled cardstock
  • stamp the sentiment from the Karten-Kunst Spruch-Kombinationen Weihnachten to the inside of the card


Hugs,


Thursday, April 15, 2021

Sending Love

Hi there,

this is just a quick reminder of this month's Stencil Challenge over on the STAMPlorations Blog:

  • stamp the giraffe from the STAMPlorations Tweet Love set with Memento Tuxedo Black - stamp that same giraffe but this time use the mirror stamping technique
  • color the giraffes with Spectrum Noir Triblend Markers and add extra shading with Faber-Castell Polychromos pencils
  • cut out a hill shape from Neenah Desert Storm kraft cardstock using the CUTplorations Winter Landscape
  • add color to a white piece of smooth white cardstock with Distress Oxide Ink Tumbled Glass and then apply Distress Oxide Ink Salty Ocean through the ARTplorations Clustered Hearts stencil and around the edges
  • stamp the sentiment from the same stamp set with Versamark onto a strip of colored cardstock and heat-emboss it with WOW! Bight White Super Fine embossing powder
  • add some patterned paper banners underneath the sentiment strip
  • as final embellishments add three little glittery hearts


I hope to see some of your creations in the gallery.

Hugs,


Monday, March 8, 2021

Believe in Magic

Hi there,

we are showing you all kinds of Spring Projects over on the Elizabeth Craft Designs Blog and I created this cute Fairy Card using the Elizabeth Craft Designs Fairy 2 and Leaf Pattern Background die sets:

  • cut out all the elements for the fairy from Elizabeth Craft Designs white Soft Finish Cardstock
  • color the elements with Alcohol Markers and add extra shading with Distress Ink (Tattered Rose, Peacock Feathers) and a Blending Brush
  • cut out a panel and cover it with clear double-sided adhesive and Elizabeth Craft Designs Dark Mint Silk Microfine Glitter
  • cut out the Elizabeth Craft Designs Leaf Pattern Background from green cardstock
  • stamp the sentiment from the Elizabeth Craft Designs Once upon a Time Sentiments set with Versamark onto a kraft banner and heat-emboss it with WOW! Bright White Super Fine embossing powder


Have a wonderful day.


Monday, February 8, 2021

Be Mine Rainbow Heart

Hi there,

we are sharing all kinds of Valentine's Day Projects over on the Elizabeth Craft Designs Blog and this my creation:

  • create a rainbow gradient on a piece of smooth white cardstock using Distress Oxide Inks (Squeezed Lemonade, Carved Pumpkin, Picked Raspberry, Twisted Citron, Peacock Feathers, Wilted Violet)
  • cut out the Elizabeth Craft Designs Puzzle Heart from this rainbow panel and adhere it to black heart background
  • fill a black background panel with stripes of clear double-sided adhesive and cover those stripes with Elizabeth Craft Designs Silk Microfine Glitter Bright Cranberry
  • cut out a little envelope and a tiny heart from the leftover rainbow panel with the help of the Elizabeth Craft Designs Peek a Boo Love die set and add shading with a grey Alcohol Marker
  • stamp the sentiment from the Elizabeth Craft Designs Bear Hugs set with Versamark onto a strip of black cardstock and heat-emboss it with WOW! Bright White Super Fine embossing powder


Have a wonderful day.

Hugs,


Wednesday, October 21, 2020

Stitched Hello Circles

Hi there,

I created this stitched card for the STAMPlorations Birthday:

  • use the CUTplorations Dots all over cover plate on a piece of Confetti White Cardstock
  • use the pattern for stitching
  • ink up the edges of the panel with Distress Oxide Ink Peacock Feathers and a Blending Brush
  • cut out the CUTplorations Hello from dark teal cardstock and add Wink of Stella Clear Glitter on top
  • adhere the panel to a dark teal cardbase

I hope you got inspired.

Hugs,


Tuesday, September 29, 2020

I love you meow and furever

Hi there,

I created this card for our Wedding Anniversary using the adorable Gerda Steiner Designs Valentine Cats stamp set:

  • stamp one of the lovely cats from the Gerda Steiner Designs Valentine Cats set with Lawn Fawn River Rock
  • add some texture to the card panel using two of the Lawn Fawn Stitched Trails
  • color the image with Spectrum Noir Triblend Markers and add extra shading with Faber-Castell Polychromos pencils 
  • stamp the sentiment from the same set with Distress Oxide Ink (Spun Sugar, Picked Raspberry) for an ombre look
  • add some glitter to the hearts
  • adhere the panel to a pink cardbase


Thanks for stopping by.

Hugs,


Tuesday, October 8, 2019

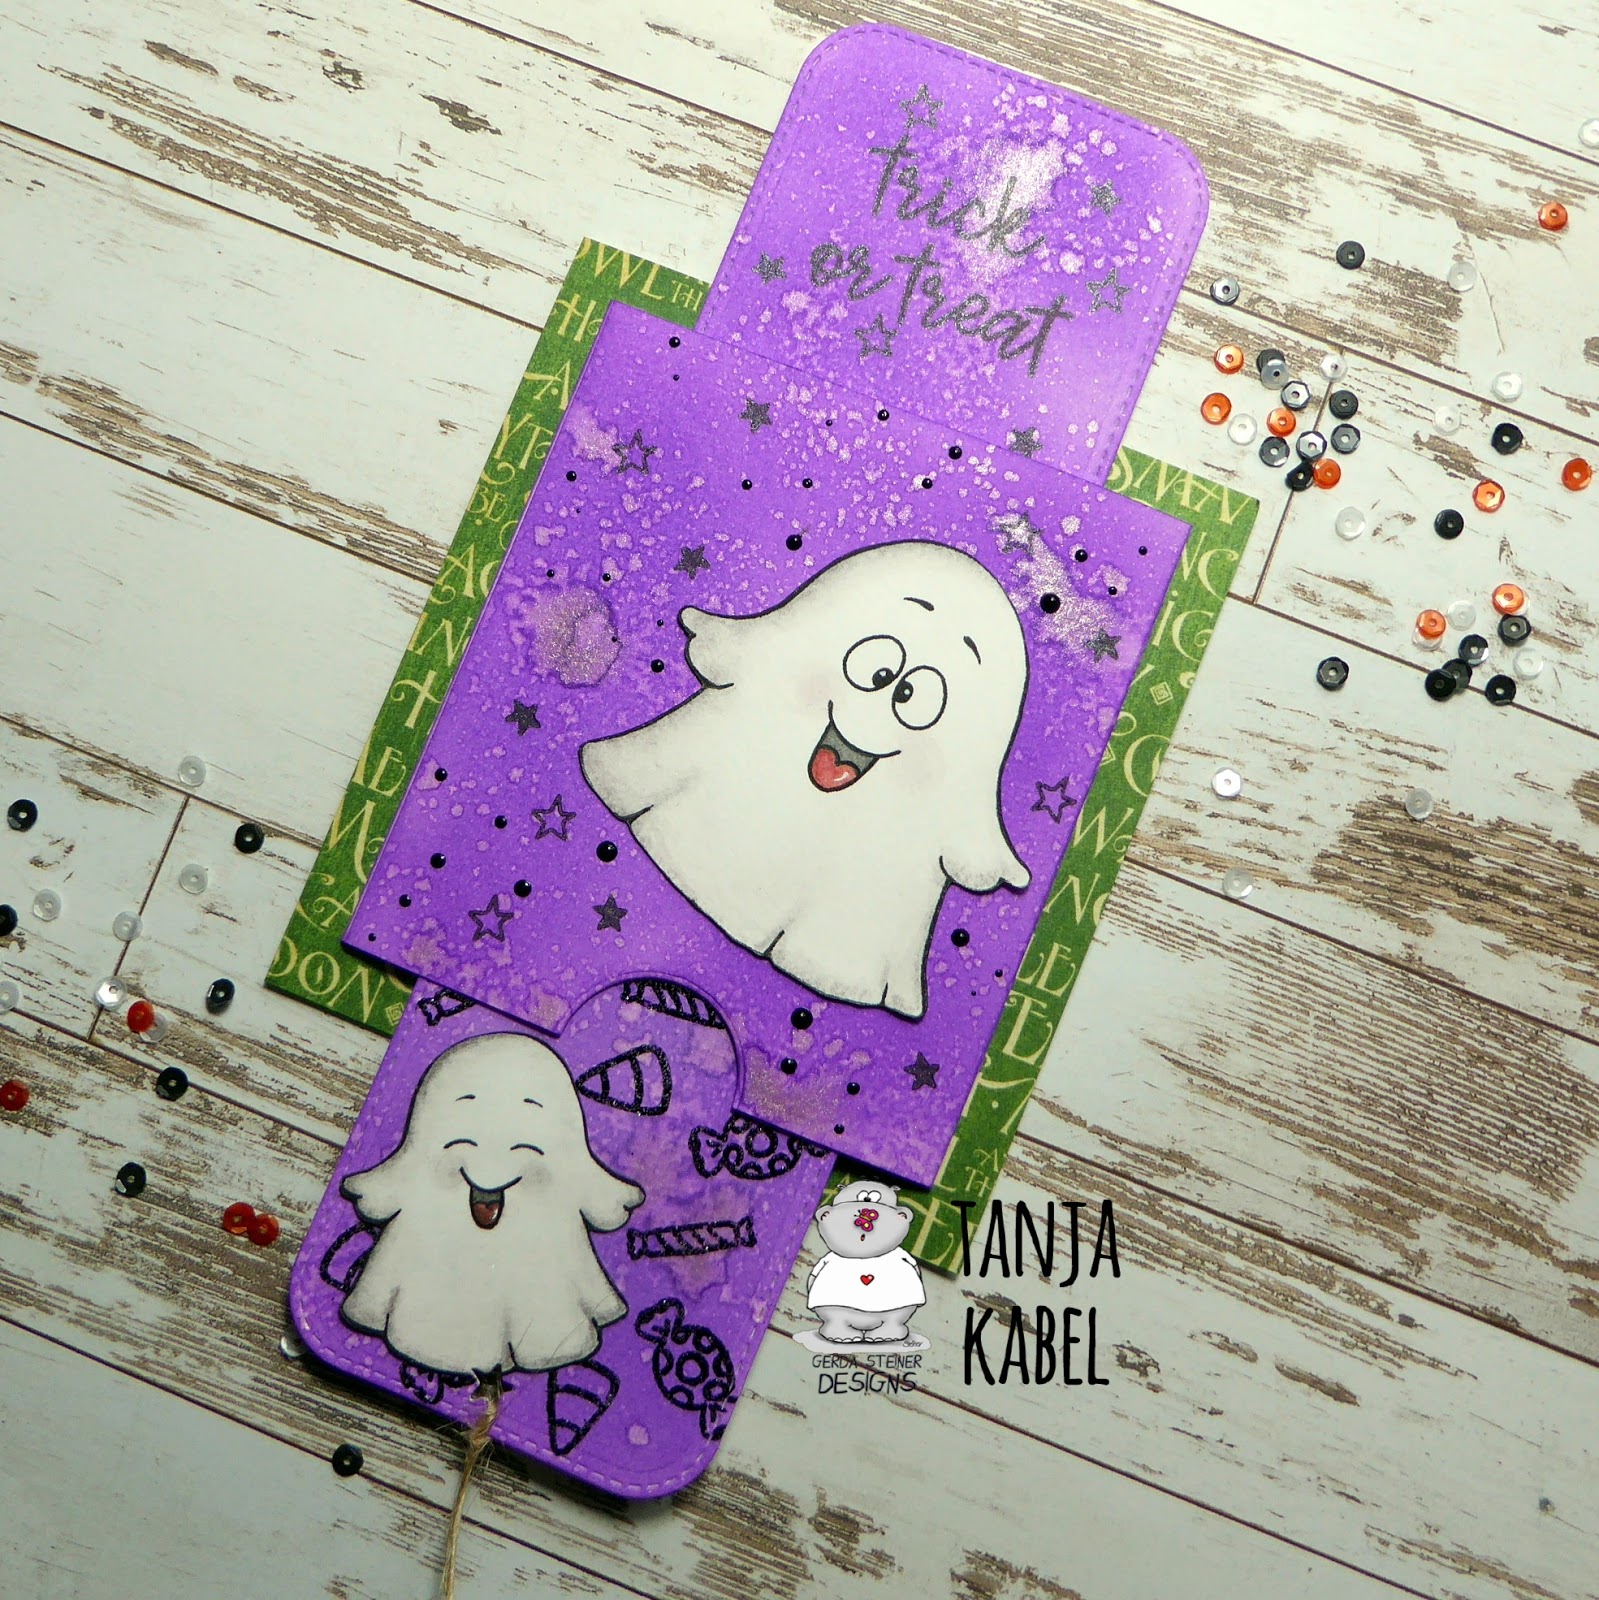
Trick or Treat Ghosts

Hi there,

I created this double slider card using the new Gerda Steiner Designs Boo for you stamp set:

  • create a double slider mechanism using the My Favorite Things Stitched Rounded Rectangle STAX, watercolor paper, one of the Kesi'Art Encoches and a piece of plastic
  • add color with Distress Oxide Ink Wilted Violet and a Mini Ink Blending Tool
  • mist the panels with Pearlized Water for extra texture and shimmer
  • color the adorable little ghosts from the Gerda Steiner Designs A Boo for you set with Derwent Graphitint pencils and a damp watercolor brush
  • add highlights with a white gel pen
  • decorate the bottom panel with candy from the Gerda Steiner Designs Where is the Candy? set using Versamark and WOW! Black Twinkle embossing glitter
  • stamp the sentiment from the same set with Delicata Black Shimmer onto the top panel
  • add some stars from the Gerda Steiner Designs Alien Invasion set with that same black ink 
  • Nuvo Crystal Drops in Ebony Black are the final embellishment on the front and top panel
  • punch a star-shaped hole into the bottom panel and thread a piece of natural twine through it
  • cover a cardbase with patterned paper from the Graphic 45 An eerie Tale 6x6 paper pad before adhering the slider panel


I hope you got inspired.

Hugs,


Friday, June 21, 2019

Hello Unikitty

Hi there,

the new Elizabeth Craft Designs Cat and Hats die sets allows you to create the most adorable Unikitty:


  • cut out all the elements necessary to create a Unikitty with the dies from the Elizabeth Craft Designs Cat and Hats die sets
  • add color with Delta, Touch Twin Brush and Copic Markers and add extra shading with Distress Ink
  • add Nuvo Glitter Drops White Blizzard to the star and the horn
  • create a background on a stitched panel of watercolor paper using Glitter Spray, Nuvo Expanding Mousse and a star stencil
  • adhere the sentiment cut from purple glitter paper with the help of one of the Elizabeth Craft Designs Words 2 Thinking of you dies


I hope you got inspired.

Hugs,


Thursday, February 7, 2019

You have my Heart

Hi there,

I created this beary sweet Valentine's Day Card for the Stamping-Fairies Facebook Group:

  • add color to a piece of watercolor paper using Distress Oxide Inks (Tattered Rose, Spun Sugar) 
  • mist it with Pearlized Water for extra shine 
  • cut out a heart using the heart die from the My Favorite Things Flop Card die set
  • cut out a stitched rectangle from watercolor paper and add color with Distress Oxide Inks (Cracked Pistachio, Peacock Feathers) as well
  • run the panel through your Big Shot in a heart embossing folder
  • stamp one of the adorable bears from the My Favorite Things Bitty Bears set with Versafine Vintage Sepia and color it with Winsor & Newton Watercolor Markers and a damp watercolor brush
  • add highlights with a white gel pen and sparkle to the heart with Nuvo Glitter Drops White Blizzard
  • stamp the sentiment from the same set with Versamark onto a strip of pink cardstock and heat-emboss it with WOW! Bright White Super Fine embossing powder
  • add a piece of patterned paper to the left side of the colored panels and glue everything down onto a white cardbase


I hope you got inspired.

Hugs,


Sunday, January 13, 2019

Stamp Connection #45

Hi there,

connected through our love for card making, blogging and being from Germany we (Cornelia from Stempel Spass and I) decided to create a monthly project within predefined requirements. We are going to show you the result every 2nd Sunday of the month and this is our 45th transatlantic get-together!

Our requirement for this meet-up was:
"something new purchased a long time ago" 


  • stamp one of the monsters from the Create a Smile Beast Feast onto a stitched panel cut from watercolor cardstock and color the image with Derwent Inktense Pencils and a damp watercolor brush
  • add Nuvo Crystal Glaze to the eyes and Nuvo Glitter Accents Fresh Snowfall to the hill shape 
  • stamp the sentiment from the same set with Versafine Onyx Black
  • create a background on the cardbase using patterned paper from the My Mind's Eye Sugar Plum 6x6 paper pad and one of the My Favorite Things Stitched Scallop Edges
  • adhere the watercolor panel with double-sided foam adhesive


Now make sure to hop over to see Cornelia's Creation.


Thanks for stopping by. We hope to see you again at the ...


Hugs,