Showing posts with label Brayer. Show all posts

Thursday, February 6, 2025

Aloha

Hi there,

it's Inspiration Week over at Mennys Bastelshop and this week's topic is "Paper Piecing". I chose the beautiful Impronte d'Autore Hula 1 stamp set for my Mixed Media tag project:

  • stamp the girl and some flowers from the Impronte d'Autore Hula 1 set with Gina K. Designs Obsidian
  • color the image with Spectrum Noir Triblend Markers, add extra shading with Faber-Castell Polychromos pencils and highlights with a white gel pen
  • stamp the girl on patterned paper and cut out the dress
  • layer it on top of the colored image and add shading with Spectrum Noir Triblend Markers and Faber-Castell Polychromos pencils
  • cover a tag with tissue paper and a paper doily
  • add color with acrylic paints and a brayer
  • splatter the tag with watered-down white acrylic paint
  • for more texture stamp the Karten-Kunst Script Background with Archival Ink Watering Can
  • ink up the edges of the tag with Distress Ink Walnut Stain
  • dye a piece of torn seam binding with Distress Ink (Walnut Stain, Dusty Concord)
  • thread the seam binding and two strands of twine through the hole of the tag

I hope you got inspired.

Hugs,


Sunday, January 19, 2025

Winter Fox

Hi there,

I created this winter card using the Anjas Basteltraum Winter Wanderlust stamp set:

  • create a background using kraft cardstock, the Sizzix Pine Needles embossing folder, a brayer, white pigment ink, Distress Ink Forest Moss and splatters of white gouache
  • stamp the skiing fox from the Anjas Basteltraum Winter Wanderlust set with Gina K. Designs Obsidian
  • color the image with Spectrum Noir Triblend Markers, add extra shading with Faber-Castell Polychromos pencils and highlights with a white gel pen
  • cut out a Lawn Fawn Fancy Wavy Banner from kraft cardstock
  • stamp the sentiment from the Lawn Fawn Winter Wavy Sayings set with Versamark and heat-emboss it with WOW! Bright White Super Fine embossing powder

Have a wonderful day.

Hugs,


Monday, June 17, 2024

Rusty Bloom

Hi there,

I tried something new today: Distress Inks on Photo Paper. I got the idea from a YouTube Short by Ranger. So I created this rusty, vintage card for the Karten-Kunst Blog.

  • add color to a panel of photo paper with Distress Ink (Walnut Stain, Vintage Photo) using a brayer
  • run the panel through your Big Shot in an embossing folder
  • add Distress Ink Walnut Stain to the raised areas
  • add some Distress Oxide Spray Salvaged Patina
  • use the Karten-Kunst Card Designer A6 die set to cut the panel apart
  • stamp the sentiment from the Karten-Kunst Weise Worte für Freunde with white pigment ink and heat-emboss it with Distress Embossing Glaze Salvaged Patina
  • cut the Karten-Kunst Carissa Bloom from dark brown cardstock and add it to the layout
  • add some splatters with the Distress Oxide Spray Salvaged Patina

I hope you got inspired.

Hugs,


Monday, February 5, 2024

Handmade Dandelions

Hi there,

I created this layered Wax Seal card for the Karten-Kunst Blog:

  • create a background using kraft cardstock, an embossing folder, a brayer, white pigment ink and some watered-down white gouache
  • cut out three Karten-Kunst Dandelion Hearts from kraft and colored cardstock
  • add some texture with a white gel pen
  • create a wax seal and highlight the letters with the Molotow Liquid Chrome pen


Have a wonderful day.

Hugs,


Thursday, January 25, 2024

Jingle All the Way

Hi there,

I created this sweet Winter Card using an image from the Paperie Ink Sleigh All Day set for Mennys Bastelshop:

  • stamp one of the super cute images from the Paperie Ink Sleigh all Day set with Gina K. Designs Obsidian
  • color the image with Spectrum Noir Triblend Markers, add extra shading with Faber-Castell Polychromos pencils and highlights with a white gel pen
  • create a background using Neenah Desert Storm Kraft Cardstock, the Spellbinders Sparkling Snow embossing folder, a brayer and white pigment ink
  • the strip is cut with the help of a Florilèges Design die and colored with Distress Oxide Ink (Salvaged Patina, Evergreen Bough) - for the extra snowy look I added some WOW! Neutral Ultra Shimmer embossing powder

I hope you got inspired.

Hugs,


Sunday, December 10, 2023

Santa's Little Helpers

Hi there,

I created this sweet Rooftop Scene using images from the Anjas Basteltraum Weihnachten bei Katz und Maus and the Anjas Basteltraum Weihnachtsmänner stamp sets:

  • stamp some mice from the Anjas Basteltraum Weihnachten bei Katz und Maus set and the chimney and the presents from the Anjas Basteltraum Weihnachtsmänner set with Lawn Fawn River Rock
  • color the images with Spectrum Noir Triblend Markers, add extra shading with Faber-Castell Polychromos pencils and highlights with a white gel pen
  • use the Lawn Fawn Rooftop Border, grey cardstock and Distress Ink Pumice Stone to create a roof
  • for the sky background I used blue cardstock, the Spellbinders Sparkling Snow embossing folder, a brayer, white pigment ink, Distress Ink Faded Jeans and splatters of white gouache
  • cut out the Creative Expressions Merriest Christmas as a sentiment from the same grey cardstock that you already used on the roof
Have a wonderful Advent Sunday.

Hugs,


Tuesday, June 21, 2022

Enjoy your Day

Hi there,

I created this dimensional card using the adorable Gerda Steiner Designs On the Bookshelf stamp set:

  • stamp one of the cats, the cactus and the picture frame from the Gerda Steiner Designs On the Bookshelf set with Lawn Fawn Jet Black
  • color the images with Spectrum Noir Triblend Markers and add extra shading with Faber-Castell Polychromos pencils
  • cut a strip of woodgrain paper and ink up its edges with Distress Ink Gathered Twigs
  • create a background with the help of an embossing folder, Distress Ink Hickory Smoke and a brayer


Thanks for stopping by.

Hugs, 


Wednesday, May 16, 2018

Never too late

Hi there,

I would like to show you this home decor piece that I created for my son's room and I hope it inspires you to join the Addicted to Stamps and More Make your Mark Challenge:

  • cover a burlap panel with some Prima Marketing Modeling Paste and roll a textured brayer or stamp over this background - let this layer dry thoroughly 
  • add some color with watered-down Dina Wakley Heavy Body Acrylic Paints (Turquoise, Night) - add some splatters with the dark blue as well
  • glue on some book text and a sticker with matte medium
  • add Prima Marketing Metallique Wax Bronze Age to the raised areas
  • cut out the largest of the Memory Box Leavenworth Trio butterflies from sturdy white cardstock and add color with that same acrylic paints and the wax
  • use hot glue to adhere it in the top right corner of the panel


I hope you got inspired.

Yours,


Friday, September 8, 2017

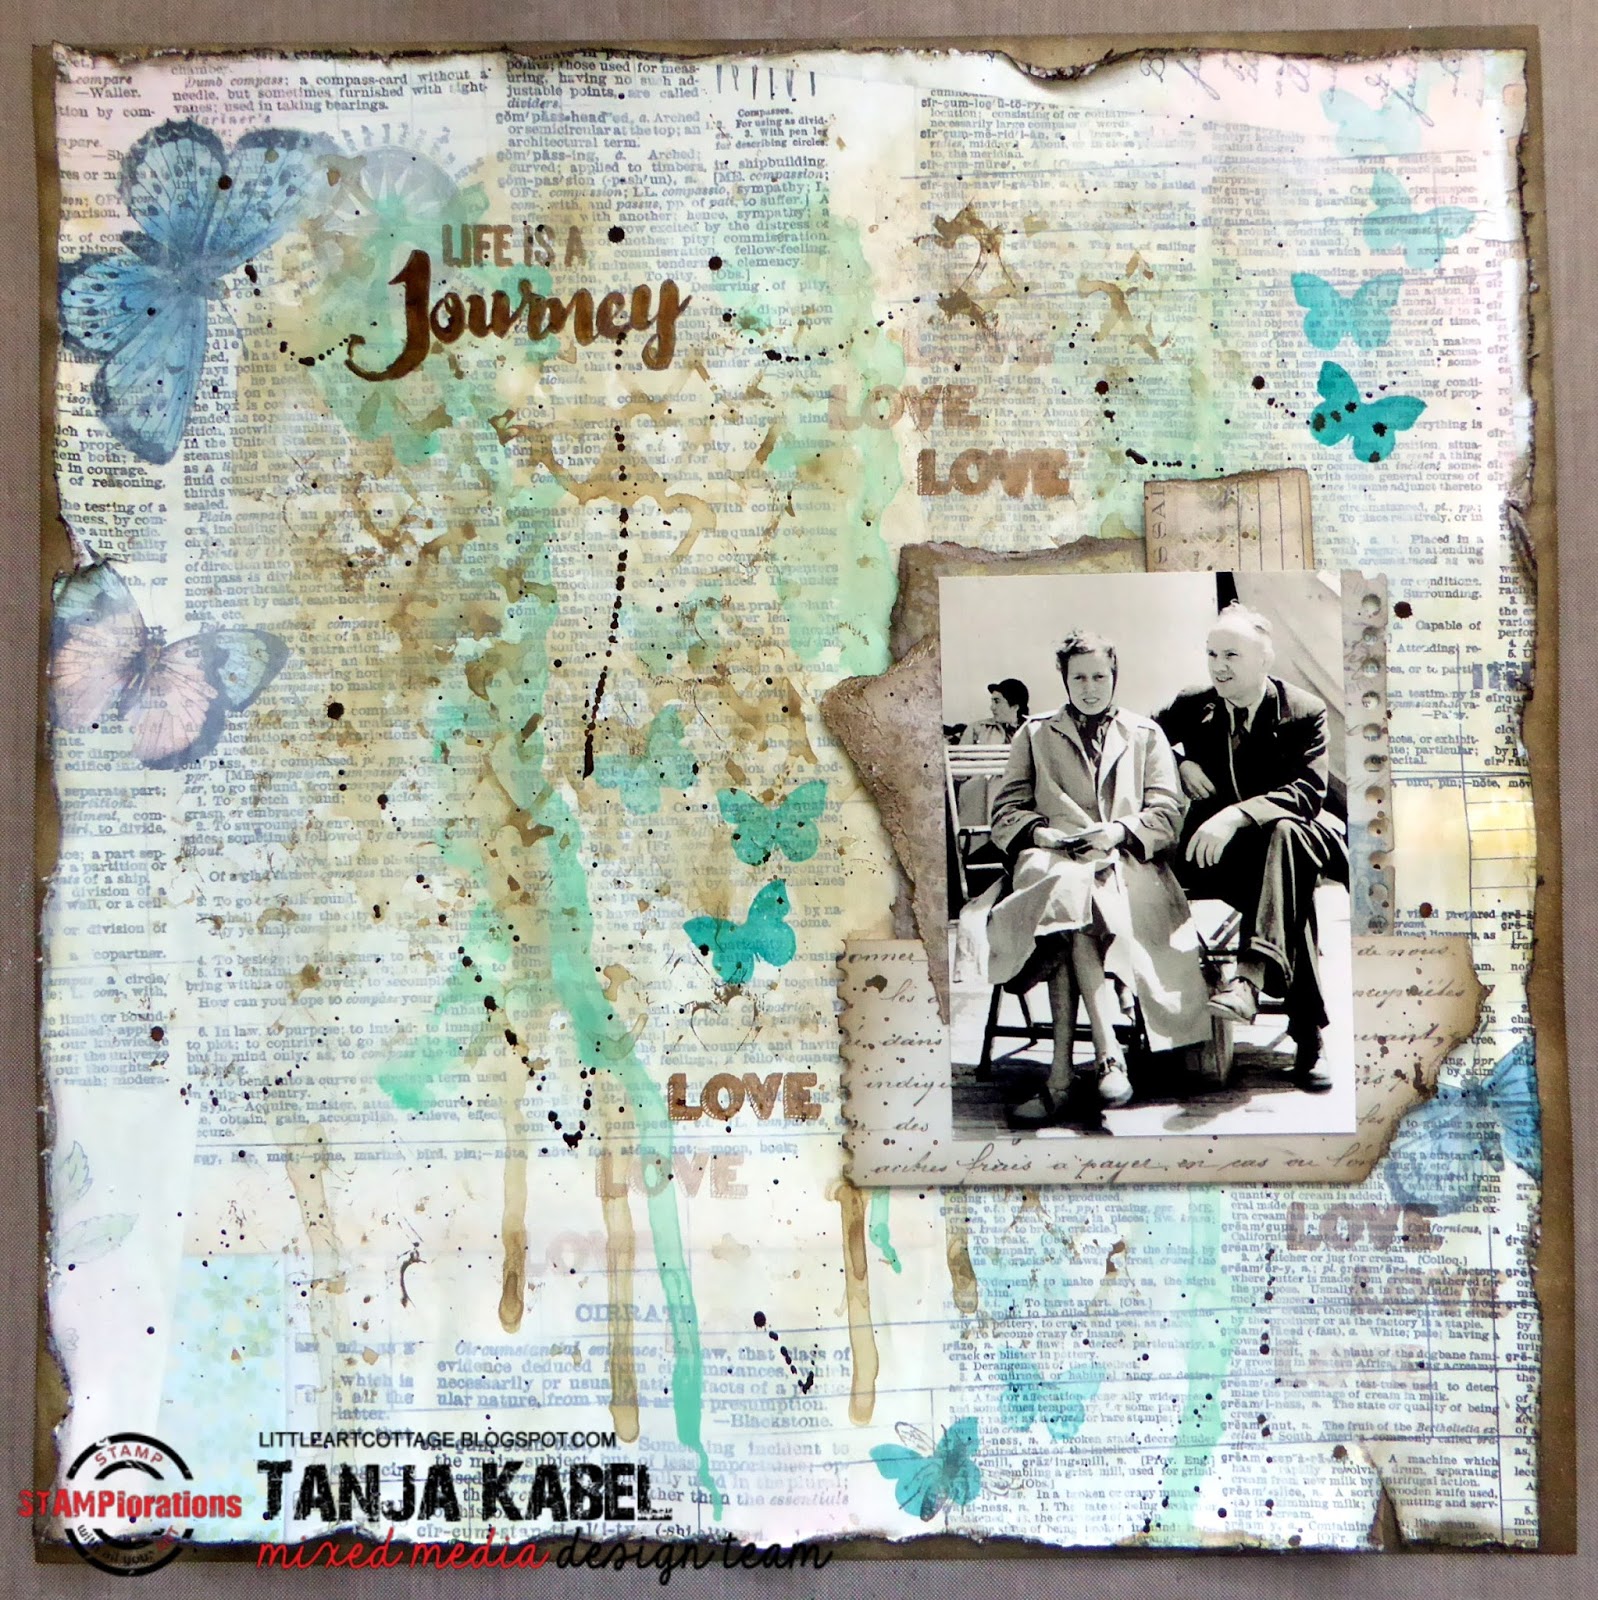
Life is a Journey Scrapbook Layout

Hi there,

I have a new step-by-step tutorial over on the STAMPlorations Blog for you and this time I would like to show you how to create this scrapbook layout.


I hope you got inspired and don't forget to join us for our Mixed Media Challenge over at the STAMPlorations Blog. The theme is always anything mixed media except a card. You must use at least one stencil (any brand) in your project. The Linky closes at the end of the month.

Yours,


Thursday, July 6, 2017

You can never have too much happy

Hi there,

we are starting a new Mixed Media Challenge over on Happy Little Stampers and this time we would like to see some texture:

  • cover a woodpanel with three layers of white gesso - let each layer dry before applying the next
  • cover the whole panel with Tissue Wrap Melange - use Matte Medium to adhere this next layer
  • use a brayer to apply three different shades of turquoise (DecoArt Laguna, DecoArt Indian Turquoise, Distress Paint Evergreen Bough)
  • stamp the letters from the Paper Artsy JOFY 54 set with Memento Luxe (Gray Flannel)
  • add the little garden scene by using the JOFY sets 24, 32, 42 and Archival Ink (Black Soot)
  • color the images with Derwent Inktense Pencils and a damp watercolor brush
  • ink up the edges of the whole panel with Distress Ink (Evergreen Bough)
  • add the sentiment created with a Dymo Label Maker

I hope you got inspired.

Yours,


Sunday, April 2, 2017

Purple Coffee Tag

Hi there,

still inspired by the Spring Coffee Lovers Blog Hop I created this tag for the STAMPlorations Stencil Sunday and the start of a new Mixed Media Challenge.

  • cut out a tag from sturdy white cardstock
  • brayer some Distress Paint (Tumbled Glass, Salty Ocean, Dusty Concord) onto a 3''x5'' Gelli Plate and put the ARTplorations Rows of Hearts stencil on top, pull a print, remove the stencil and print  onto the tag as a background
  • stamp the STAMPlorations Framed Coffee for Two with Archival Ink (Watering Can) directly onto the background and add color and shading with the Faber-Castell Albrecht Dürer watercolor pencils, the black Stabilo All pencil and a damp watercolor brush
  • stamp the little dots from the STAMPlorations Mixed Media Grunge set around the edges
  • I had some leftover purple melted embossing powder on my desk and thought what if I add that to my tag ... I remelted the powder and poured it onto the tag to create dimensional drips
  • dye a piece of seam binding with Distress Ink (Dusty Concord, Salty Ocean) and thread it through the hole of the tag

I can't wait to see your creations in the gallery.

Yours,


Wednesday, January 11, 2017

Polar Bear Mixed Media Tags

Hi there,

I would like to show you these fun Mixed Media Tags over on the Stamping-Fairies Blog:

  • use a brayer to cover black tags with Amsterdam Acrylic Paint (Titanium Buff Deep) and Dina Wakley Heavy Body Acrylic Paint (Turquoise, Ocean, Blackberry Violet)
  • splatter on some snowflakes using white gouache or watered-down white acrylic paint
  • cut out some hillshapes from white cardstock
  • cover the back of the tag with patterned paper from the Crate Paper Snow & Cocoa 6x6 paper pad
  • stamp the waving polar bear from the My Favorite Things Polar Bear Pals set with Memento (Tuxedo Black) three times and color the images with Delta, Touch Twin Brush and Copic Markers
  • thread some twine through the hole of the tags

Here are some close-ups of the three tags:


Have a wonderful day.

Yours,


Friday, September 23, 2016

Dragon Flight

Hi there,

I have a fun Mixed Media ATC on the A Day for Daisies Blog for you:

  • color the A Day for Daisies Dragon Flight image with Distress Markers and a damp watercolor brush
  • add Pico Embellisher (Shimmer) to its little purple dots
  • create some Gelli Print backgrounds on deli paper using a brayer, Dina Wakley Heavy Body Acrylic Paints (Lapis, Night, Turquoise, Magenta) and the ARTplorations Leaf Bliss Large stencil and the ARTplorations Big Bloom Factory Large stencil
  • cover an ATC cut from sturdy watercolor paper with part of a print using Dina Wakley Gel Medium
  • apply some Prima Marketing Modleing Paste throught the TCW Love Post stencil
  • mix some Distress Paint (Hickory Smoke) with Golden Acrylic Glazing Liquid, paint it over the dried texture paste, let it sit for a minute and wipe some of it away with a baby wipe - repeat this process until you are happy with the result
  • ink up the edges of the ATC with Distress Ink (Hickory Smoke)
  • add some black splatters with Kuretake Gansai Tambi watercolors
  • choose some Ideaology Remnant Rubs (Botanical) as embellishments
  • apply Versamark around the edges of the card and heat-emboss them with Archival Watering Can embossing powder

Simon says Stamp Monday Challenge - Inspired by Music (Puff the Magic Dragon)

613 Avenue Create Challenge #189 - Anything goes

More Mixed Media Challenge #9 - Anything goes

Mixed Media World Challenge #18 - Magical/Fantasy

I hope you got inspired.

Yours,


Sunday, January 3, 2016

Gift Wrap Tissue

Hi there,

I created this gift wrap tissue for this week's Stencil Sunday and the start of the January Mixed Media Challenge on the STAMPlorations Blog:


I would like to share this project at the following challenges:

Simon Says Stamp Wednesday Challenge - Simon says Party!

Don't forget to join our Mixed Media Challenge over at the STAMPlorations Blog. The theme is always anything mixed media except a card. You must use at least one stencil (any brand) in your project. The Linky closes at the end of the month.

Thanks for stopping by.

Yours,


Monday, February 2, 2015

1 Stamp - 10 Tags ... Part 6 - Brayered Background

Hi there,

this is the sixth tag of my little series "1 Stamp - 10 Tags" for the Karten-Kunst-Blog:


I would like to take part in the following challenges:

CAS on Sunday Challenge #51: Flowers

Seize the Birthday Challenge: Anything goes


Simon Says Stamp Monday Challenge: H is for ... Tim Holtz

I hope you got inspired.

Yours,
Tanja